Escort

This map seems rather balanced, but in reality heavily favours the Japanese. It is nearly impossible to win as Allies on this map.
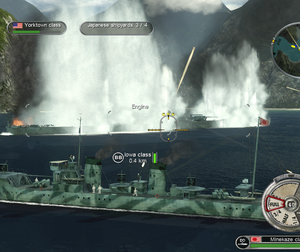
The layout is simple: a Yorktown-class carrier must pass through a long and winding strait, similar to Running the Palawan Passage. There is only one route for the carrier to follow. It is escorted by an Iowa-class battleship and its fighter wing: the Allied players. The Japanese have several shore batteries, fortresses, heavy AA guns, as well as four shipyards and an airfield to sink this carrier. The Japanese players can choose to spawn as a Minekaze-class destroyer from the shipyards or as a Raiden or Jill from the airfield.

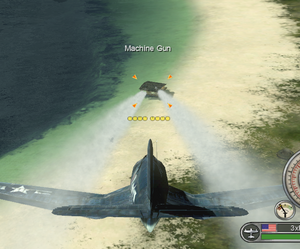
The Allies must employ rocket Corsairs and SB2C Helldivers to try in a rather vain attempt to keep their carrier afloat. Minekaze-class destroyers are easy pickings for rocket attacks, but because they are so concentrated their AA fire becomes extremely effective. This is particularly true when combined with the huge grouping of AA guns next to the first shipyard the Allies must destroy.
The Japanese have it easy on this map - the destruction of the first shipyard is almost inevitable, but the destroyers carry quite a few torpedoes that can be fired at standoff range. The Iowa has difficulties in aiming at multiple smaller targets like your destroyers, so simply fire off your torpedoes and hope for the best. When fired in waves, the carrier AI will often be unable to manoeuvre.
Aside from the comparatively long range of the Minekaze-class' torpedoes, the shipyards the Allies must destroy are built rather tough. Rockets cause only small amounts of damage, and it is up to Helldivers to cause most of it. Unfortunately, Helldivers are easy targets for the ground-based AA guns and enemy-operated destroyers. Not only this, but the second shipyard has an extremely odd hitbox which makes hitting it extremely hard, especially from the air. The carrier usually sinks a little to the south of the second shipyard.
In the highly unlikely event it manages to pass the second shipyard, it still must contend with two additional shipyards, aircraft from the airfield, and multiple shoreguns. This map is avoided like the plague online, as a result of the total lack of balance on this map.
Siege
Competitive
This map is unavailable for competitive play.
Duel
Island Capture
This map is unavailable for Island Capture.

