Jump to navigation
Jump to search
E-123Wario54 (talk | contribs) (creation) |
E-123Wario54 (talk | contribs) m (simplifying formatting to make easier to read on mobile) |
||
| Line 2: | Line 2: | ||
==Part 1== | ==Part 1== | ||
*Use '''Group Photo''' to shoot <font color=orange>'''the three of us'''</font>. | |||
*Choose "the ones who got the photos." | |||
*In the Hangman's Gambit, spell "AMNESIA." | |||
*Use '''Interview DVD''' to shoot <font color=orange>'''I remember everything'''</font>. | |||
*Use '''Monokuma Control Room''' to shoot <font color=orange>'''a million miles away'''</font>. | |||
*Choose "the other wounds." | |||
*Use '''Mukuro Ikusaba's Profile''' to shoot <font color=orange>'''all those wounds in battle'''</font>. | |||
*Choose "the mastermind." | |||
*Absorb <font color=#006400>'''right hand'''</font> and shoot <font color=orange>'''it was Mukuro Ikusaba'''</font>. | |||
*Choose "the bio lab." | |||
*Select the '''Tarp'''. | |||
*Final Strike: Bio Lab Lights | |||
*Choose "ten lights." | |||
*Choose "the same person was killed twice." | |||
*Absorb <font color=#006400>'''Junko Enoshima'''</font> and shoot <font color=orange>'''murdered twice'''</font>. | |||
*Use '''Mukuro Ikusaba's Profile''' to shoot <font color=orange>'''wasn't Mukuro'''</font>. | |||
*Select Junko Enoshima. | |||
*In the Hangman's Gambit, spell "REPLACED." | |||
*Choose "they switched at the beginning." | |||
*Select the '''Interview DVD'''. | |||
*Final Strike: Group Photo | |||
*Choose "Junko's face." | |||
{{spoiler|title=Closing Argument| | {{spoiler|title=Closing Argument| | ||
<gallery mode=packed heights=150px> | <gallery mode=packed heights=150px> | ||
| Line 44: | Line 35: | ||
}} | }} | ||
==Part 2== | ==Part 2== | ||
*Choose "no thanks." | |||
*Choose "before arriving at school." | |||
*Choose "the motives Monokuma came up with." | |||
*Choose "human connections." | |||
*Choose "the past." | |||
*Choose "greed." | |||
*Choose "betrayal." | |||
*Use '''Genocide Jack's Memory''' to shoot <font color=orange>'''nobody can remember anything'''</font>. | |||
*Choose "the Togami family fell." | |||
*Choose "our life at Hope's Peak." | |||
*Use '''Locker Notebook''' to shoot <font color=orange>'''a single class'''</font>. | |||
*Choose "when I fainted." | |||
*Choose "the headmaster." | |||
*In the Hangman's Gambit, spell "HIJACK." | |||
*Absorb <font color=#006400>'''hope'''</font> and shoot every instance of <font color=orange>'''... ... ...'''</font> | |||
{{spoiler|title=Final Strike|The Ultimate Hope}} | {{spoiler|title=Final Strike|The Ultimate Hope}} | ||
{{Footer Nav|game=Danganronpa: Trigger Happy Havoc|prevpage=Chapter 6/Deadly Life|prevname=Deadly Life|nextpage=School Mode}} | {{Footer Nav|game=Danganronpa: Trigger Happy Havoc|prevpage=Chapter 6/Deadly Life|prevname=Deadly Life|nextpage=School Mode}} | ||
Latest revision as of 00:44, 20 October 2023
Part 1[edit]
- Use Group Photo to shoot the three of us.
- Choose "the ones who got the photos."
- In the Hangman's Gambit, spell "AMNESIA."
- Use Interview DVD to shoot I remember everything.
- Use Monokuma Control Room to shoot a million miles away.
- Choose "the other wounds."
- Use Mukuro Ikusaba's Profile to shoot all those wounds in battle.
- Choose "the mastermind."
- Absorb right hand and shoot it was Mukuro Ikusaba.
- Choose "the bio lab."
- Select the Tarp.
- Final Strike: Bio Lab Lights
- Choose "ten lights."
- Choose "the same person was killed twice."
- Absorb Junko Enoshima and shoot murdered twice.
- Use Mukuro Ikusaba's Profile to shoot wasn't Mukuro.
- Select Junko Enoshima.
- In the Hangman's Gambit, spell "REPLACED."
- Choose "they switched at the beginning."
- Select the Interview DVD.
- Final Strike: Group Photo
- Choose "Junko's face."
Closing Argument
-
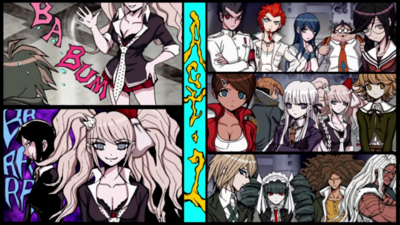
(1) Mukuro Ikusaba hides behind the face of Junko Enoshima.
-
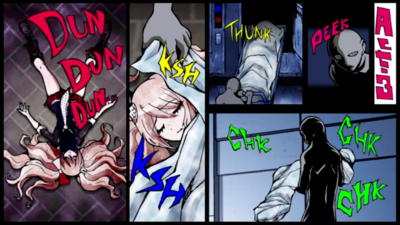
(2) The mastermind pulls the body out of the freezer.
-
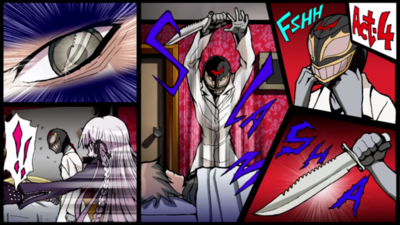
(3) The mastermind raises the knife and (4) Kyoko opens the door to find the mastermind.
-
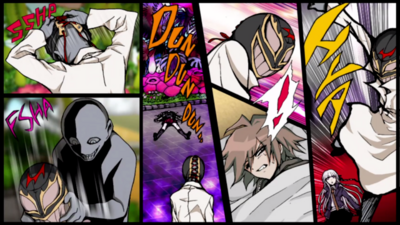
(5) The mastermind runs away from Kyoko and (6) puts the mask on the body.
-
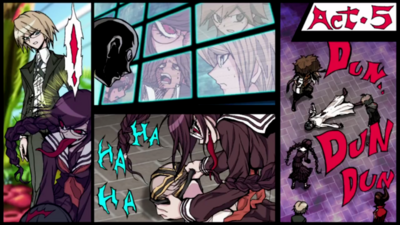
(7) Everyone discovers the body.
-
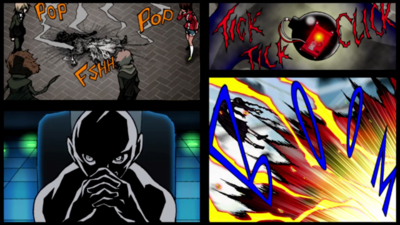
(8) The body is charred.


Part 2[edit]
- Choose "no thanks."
- Choose "before arriving at school."
- Choose "the motives Monokuma came up with."
- Choose "human connections."
- Choose "the past."
- Choose "greed."
- Choose "betrayal."
- Use Genocide Jack's Memory to shoot nobody can remember anything.
- Choose "the Togami family fell."
- Choose "our life at Hope's Peak."
- Use Locker Notebook to shoot a single class.
- Choose "when I fainted."
- Choose "the headmaster."
- In the Hangman's Gambit, spell "HIJACK."
- Absorb hope and shoot every instance of ... ... ...
Final Strike
The Ultimate Hope