Exploration[edit | edit source]
Near the Ultimate Magician Lab on the first floor is where the first area to be unlocked can be found. Kaito, Maki, and Himiko should be standing around a door with a black and white checker pattern on it. Use the Last Real Key on this door to find a spiral staircase that leads to the Ultimate Astronaut Lab. Examine the window, planetarium device, and cockpit. Maki will then call the others over to look at a file. Leave the lab afterward and continue to the next item's position.
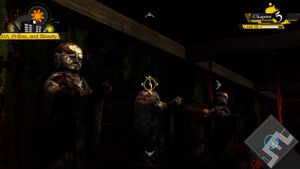
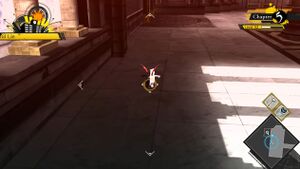
Go to the fourth floor of the school. Across from the stairs leading to the fifth floor is a set of statues. Hiding on top of one of the statues is Hidden Monokuma #1. Go to the fifth floor and look along the wall near the Ultimate Detective Lab. Walking in a line here is Hidden Monokuma #2. Use the Last Real Key on the extravagant door at the end of the hall. After the scene, examine the door to the new lab. Unfortunately, Shuichi can't enter it, so proceed to the final new area.
Go outside and follow the path past the Ultimate Inventor Lab to find a large, metal door. Use the Real Last Key on the podium in front of it to unlock it and enter the new area. Follow the winding path to find an electrical barrier. After the scene, Shuichi and Keebo find themselves in the Exisal Hangar. Turn the camera left and examine the operation panel and the Exisal. To the right, examine the washing machine, painting machine, and hydraulic press. Examine the door at the back of the area to enter the Bathroom. Exit after Shuichi comments on the strangeness of its presence, as there is nothing else to investigate here. Himiko then arrives to summon Shuichi and Keebo to the Dining Hall. Go there for the next scene. Speak to Tsumugi to advance the discussion. Two Free Time opportunities follow.
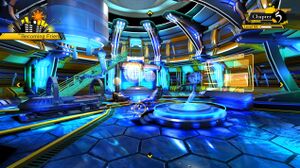
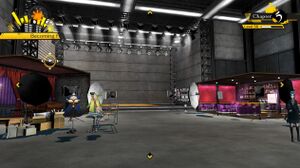
As always, use Free Time not only to bond with the other students, but to collect presents and find the remaining Hidden Monokumas. Start by going to the Ultimate Robot Lab, beside the Ultimate Inventor Lab. Turn the camera left to get a better view of Hidden Monokuma #3, dancing behind the platform at the center of the room. The last Hidden Monokuma that can be collected here can be found on the fifth floor, in the Ultimate Cosplayer Lab. Look on top of the studio set to the left to find Hidden Monokuma #4 lounging on it. This one may be difficult to grab due to its proximity to an object that can be examined, so try using different camera angles if all else fails.
Fighting back[edit | edit source]
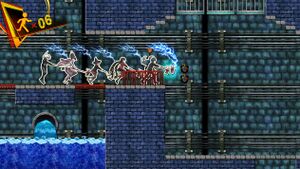
At night, open the door and then go to the Ultimate Assassin Lab. The next morning, go to the Dining Hall. Speak to Kaito to advance the discussion. After more Free Time, go to the Gym. Examine the hammers and then go to the Backyard behind the school. Speak to Keebo inside before going down the manhole. After the scene is another try at Death Road of Despair from the first chapter, but this time the students are equipped with hammers capable of disabling all traps. Reach the end of the platformer to access a new area.
Examine the operation panel for a long scene. Speak to the remaining students and Shuichi will end up back in his dorm. Open the door when the bell's rung and then go to the Dining Hall for another long scene. Speak to Maki to advance the discussion. Approach the Exisal Hangar, and when Shuichi finds that he can't enter, examine the bathroom window to the side. The next morning, go to the Dining Hall. After the discussion, go to the Exisal Hangar. Examine the shutter operation panel after meeting up with the other students. Behind the shutter is a scene that launches an investigation.
