| First Line of Defense | |
|---|---|
| World | Kashyyyk |
| Environment | Space |
| Hero | none |
| Difficulty | 2 out of 5 |
| Objectives | |
| |
Destroy the enemy frigates[edit]
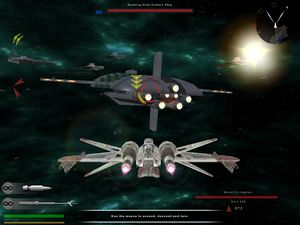
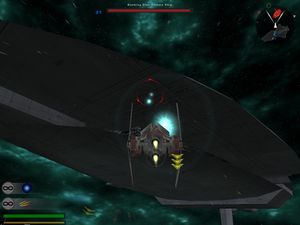
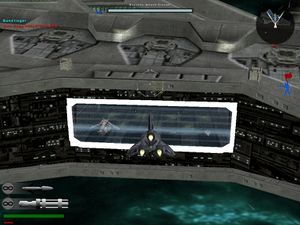
Start out as a Pilot (always a good choice in space battles) and jump in a V-Wing. V-Wings always spawn on the far left side of the hangar, facing the outer shield. Look for the yellow objective arrows to tell you where the 2 frigates are. Make a bombing run on one of them, dropping all your bombs; then circle around (there's an evasive maneuver that will turn your fighter around, activated by the C key on the PC) to the next one, because by the time you are in range, your bombs will be reloaded. It's generally a good idea to stay under the frigates as you bomb them, since their turrets can't hit you, but this might be hard for newbies because all your bombs aren't guaranteed to hit their target. Continue alternating frigates until they have both been destroyed.
Destroy the enemy Heavy Turrets[edit]
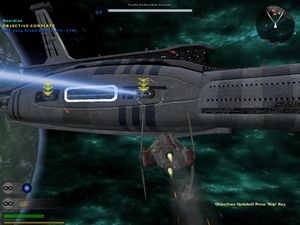
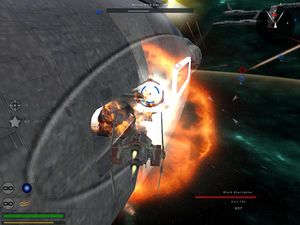
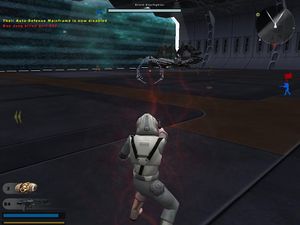
Your first space objective that requires a little skill. Bombing these things is difficult because of the bombs' tendency to follow the laws of gravity. The turrets are located on the enemy cruiser, next to their hangar, and you have to be within 200 meters of the guns to be able to hit them with a bomber's payload. If you elected to fly any of the other ships (the ARC-170 and Republic Gunship both come with proton missiles that are perfect for this), you should be able to fire directly into the turrets without getting close. If not, just unload into one of them from the side and circle around for the next one, and try not to hit anything solid on the way.
Land a LAAT Gunship in the enemy hangar[edit]
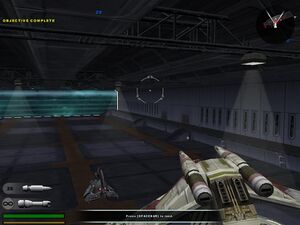
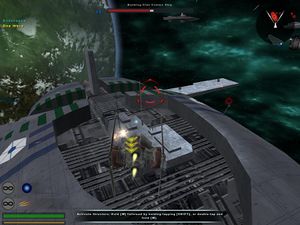
Fly your bomber back to your hangar and get in the LAAT that's marked with the objective arrow. You can wait a few seconds for other units to get in (press F4 on the PC to call them to your ship), but it's not really necessary. Fly it straight into the enemy hangar, and don't try to avoid incoming missiles; the ship's armor will be sufficient to deter any attempts to destroy you.
Landing is the hard part, however. Fly slowly as you approach the enemy hangar, and see if you can make it inside without banging against anything (the droid ships parked near the edge are pains in the neck). If you do bump into something, be prepared to adjust your velocity and vector depending on which direction you're pointed. Landing the ship directly on top of the yellow marker isn't important, simply land it somewhere inside and secure the ship (meaning keep it in the hangar for about 30-45 seconds).
Destroy the Life Support and Engines[edit]
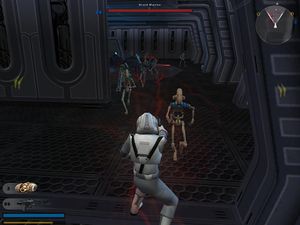
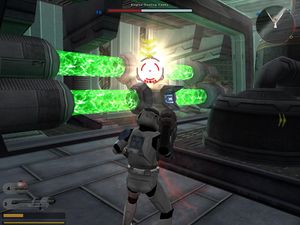
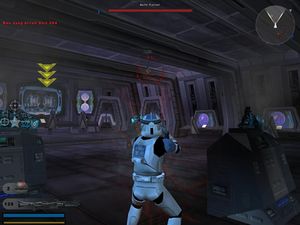
Chances are you're playing a Pilot right now. Don't worry, they can handle this job just as well as the Marines. Get out of the gunship and make your way towards the control room (in other space battles, the enemy will try to destroy your landing craft so that you can't spawn there, but in this one they won't until the objective is complete). When you come to the door, don't rush in. It's going to be packed with enemy units, not to mention auto-turrets in every room. When you're ready, run into the room and directly into one of the side rooms, whichever is closer (the Life Support is the left side door, and the Engines the right). Shoot the auto-turret on the ceiling, and place a time bomb on either the Life Support or the Engines (whichever room you're in). Continue to return fire at whatever enemy units come to assault you. It takes 2 time bombs to destroy each system. Of course, if you die, feel free to respawn at the LAAT as a Marine. Then you can defend yourself against infantry with your rifle, and just fire rockets and throw grenades instead of laying time bombs.
Secure the Kashyyyk Battle Plans[edit]
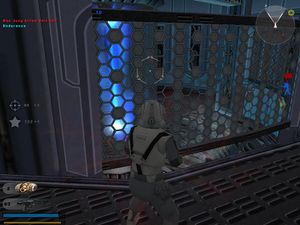
The plans are in the back room of the enemy's control center (this is the shield room, if you were wondering). Pick them up and run. Just sprint outside to the hangar, where there is more space to get away. If possible, take a droid fighter (the nimble Tri-Fighter, specifically) and fly it back to your hangar. If you can't seem to get a droid ship because they're taken, your gunship will work (if not destroyed already), though you must be extra careful to make a successful landing. If you happen to get shot down or if you botch the landing, you'll have to fly a ship all the way back to the enemy hangar and retrieve the plans again. Once landed, go all the way back to your control room and step on the glowing area.
Glitches[edit]
A rare, but annoying glitch that you can find in Kashyyyk's Space Battle is the Assassin Health Droid. There's a small chance of this happening, so don't feel bad if it doesn't work for you. First, choose Imperial, then manage to make a battle over Kashyyyk. Go to the Rebel ship (don't use Transport Craft to do this) and land the starfighter in the hangar, close to the Health Droid. Start to kill rebels close to the Health Droid, then fire at the Health Droid, wait 4 seconds, take damage and then try to gain some health from it. If successful, it will instantly kill everyone close to it, including you, and destroy your starfighter. After you die the droid will return back to normal. Note that this won't work with an Ammo Droid.
