| Revenge of the Empire | |
|---|---|
| World | Yavin 4 |
| Environment | Jungle/Temple |
| Hero | None |
| Difficulty | 5 out of 5 |
| Objectives | |
| |
Capture the Water Fountain[edit]
This can be an extremely difficult mission. A lot depends on your proficiency with Imperial tanks and your evasion skills, as you will be fighting pretty much the largest Rebel ground force in the entire game.
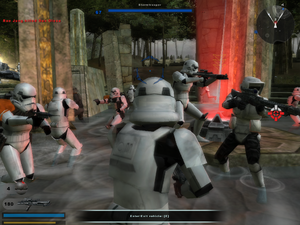
Right off the bat, you are given two ITF-T tanks. Hop onto one, and drive down to the Fountain (there's actually a second route down behind the large waterfall that you can take to get down, but there's really no reason to do that here—make sure to take advantage of it in instant action battles, however). Rebel forces should be descending from the hill by this time, so leave that tank where it will block enemy infantry from moving into the fountain as much as possible (hey, every little thing helps) and start capturing the Command Post. The enemy loves to throw grenades into the water where you can't see them very well, so be alert at all times. Also, be sure to use the copious amounts of cover available and the medical and ammo droids.
Capture the Viaduct[edit]
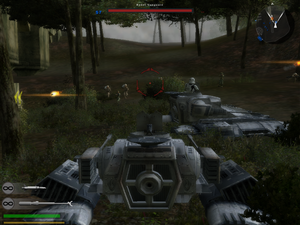
If your original tank is still intact, take that up to the Viaduct Command Post (which actually lies below the viaduct itself); if not, a new tank will spawn near the Fountain after you capture the point. Kill the large wave of infantry that spawns near the point, trying your best to avoid Vanguard rockets and using your own to take out several enemies at once. Also, around this time you should start encountering Rebel tanks; as you probably know from the Naboo mission, these have horrible accuracy with their missile barrage ability but at close range they can still smoke you before you know what's happened. Stay a fair distance away, and use the high accuracy of your own rockets to eliminate them as quickly as possible.
When the initial wave of enemies are dead, hop off the tank and start capturing. Watch out for Rebel snipers here—they'll often hide near the Viaduct and in spots further up the hill, and the AI displays uncanny accuracy with snipers in this game. Try to jump and roll around as much as possible while capturing to make yourself harder to hit.
If you die while trying to complete this objective, respawn as either the Engineer or the Imperial Officer (which you should have unlocked by now). These classes can take some hits while still being comparatively agile. You will have to fight your way up the hill again (and this time without the tank), but because you're not in a bulky vehicle you will be able to go through the trees and use them as cover instead of going up the clearing like the first time.
Capture the Reflecting Pool[edit]
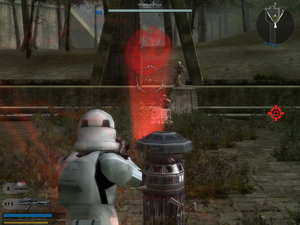
After you capture the Viaduct, switch to either the Engineer or Shock Trooper class if you aren't playing as either already. Fight your way further up the hill, staying to the right side of the map. The Reflecting Pool is very close to the Viaduct so you'll get there in no time. Quickly dispatch the couple of Rebels here, and set mines or detpacks (depending on your class) in the two entrances to the walled area. Note that you can only set one detpack at a time, so you'll have to think quickly if enemies come from both entrances.
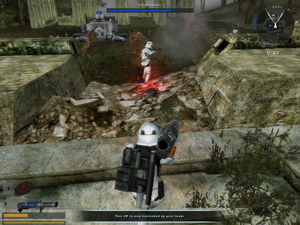
The thing that makes this part really hard is the Yavin Tower Turrets located near the temple, a bit further up the hill; you have no way of taking them out from the Pool (even if your draw distance is set that far, the foliage makes it nigh impossible to snipe them or anything), and if you stand in one spot they will shred you in a few seconds with that traditional unfair AI accuracy. Your best option is to never stay in one spot for more than a second, and use the medical droid judiciously (because if you stand to get heals for too long... the turrets get you). Ignore the battle going on around you; going outside the Pool area will not only delay the capture, but there's also a good chance that you'll get caught in the middle of one of the tank battles and get blown apart.
Defend the Reflecting Pool for three minutes[edit]
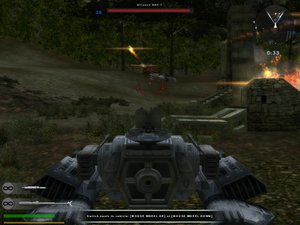
The objective is pretty self-explanatory. But guess what's going to be threatening you again? That's right, those turrets. However, you don't have to stay in the Pool for this objective: all you have to do is prevent the Rebels from re-capturing the Command Post, and you can do that inside the conveniently placed ITF-T right outside the Reflecting Pool. Get on it, and patrol the area around the Pool. Make sure to destroy any enemy tanks you come across (try to not get yourself in a crossfire situation—it can happen, because the Rebels employ several tanks at once), and immediately get back to the Pool if you see the Command Post symbol blinking.
Bring the Breaching Bomb to the Temple doors[edit]
Looks like the Rebel leaders have holed themselves up inside the Great Temple. The Breaching Bomb is inconveniently located at the spire-like Small Temple Command Post, and the way to there is infested with Rebel infantry. Use your tank to blast your way across the map, running over as many Rebels as possible. Once there, before you get off, use the tank's rockets to destroy the laser turret and the Tower Turret guarding it. Then, climb the temple and grab the bomb. During all of this, there will be a fierce battle going on between friendlies and Rebels; avoid partaking in this, because time is of the essence—this objective might not have a time limit, but each second wasted means one more teammate dying and draining your Reinforcement Meter.
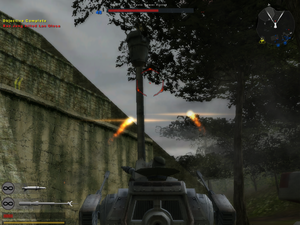
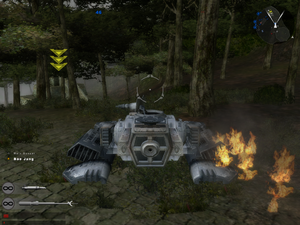
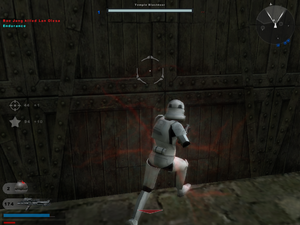
Drive the tank to the Temple Entrance, destroying all the Tower Turrets that were giving you trouble a few minutes ago. Don't bother fighting the AAC tanks, because they'll simply respawn. Step on the objective arrow in front of the temple to set the bomb (there's no marker or anything that identifies the spot, so refer to the screenshots if you have trouble finding it), and you'll be given ten seconds to get the heck out of the area before it blows.
Kill the Rebel leadership[edit]
The so-called Rebel leadership happens to be three Bothan Spies hiding out in the upper floor of the Great Temple (no Jan Dodonna in this game). Don't try to find a tank or anything; just rush inside the now-open Temple, avoiding incoming fire as much as possible. If you did this fast enough, the three Rebel AAC-1 tanks inside the Temple should still be empty. Get on one of these, and drive it halfway up the stairs (yes, this is physically possible on this map). Shoot anyone who tries to follow, then get out of the tank; the thing should block enemies that try to get to you from below, and the AI won't think to actually get on the tank. Now head on up to the Command Room, where the Bothans are denoted with the traditional objective arrows. If you're still playing as the Engineer or Shock Trooper, a blast from either primary weapon will take out a Bothan; if not, you'll have to try to kill them quickly before they cloak and incinerate you from behind.
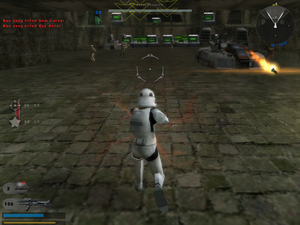
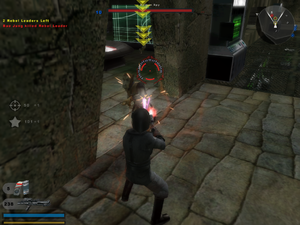
Alternatively, you may want to use an ITF-T or a Shock Trooper to blow up everything inside the Temple, and dispatch the Bothans without the rush. Either way, once all three leaders are dead, you win the mission.
