| Our Finest Hour | |
|---|---|
| World | Hoth |
| Environment | Echo Base |
| Hero | Darth Vader |
| Difficulty | 5 out of 5 |
| Objectives | |
| |
Capture the Outlook Command Post[edit]
This is it. Your final mission of the game. It's not particularly harder than the previous mission, but it's still considerably difficult on your first try—the fact that you have a single, non-resetting time limit to complete the last several objectives contributes much to that.
When you spawn, you'll notice that you're right next to an AT-AT. These walkers (Imperials always start battles on this map with two initial AT-ATs) serve as Mobile Command Posts, so as long as one is alive, your team can spawn even without any Command Posts. That said, the AT-AT is also the most devastating ground vehicle in the game—it would only be fitting to make use of it. Enter one of the walkers, and start marching toward the closest Command Post.
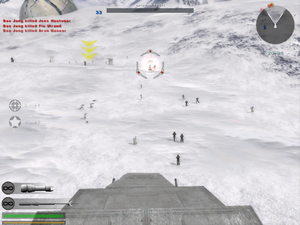
The lumbering speed means it'll take a while, but you won't notice it... you'll be having too much fun blowing the stuffing out of the Rebels with the walker's powerful guns. Your primary fire is powerful enough to take out Rebels with one hit, and secondary fire, which comes with a short recharge period, can take out both types of turrets in this map with one hit, not to mention killing any Rebels caught in a wide blast radius. Zoom in on the area around the Command Post, and blow up all the turrets (there are quite a few) to make it easier for your team and later yourself to approach the post.
AT-ATs, as powerful as they are, are not invulnerable: Hoth Dish Turrets and Vanguard Rockets, as well as enemy Snowspeeders' secondary fire, can bring you down in about a dozen volleys, and even less if they hit your vulnerable "neck" area. To avoid this, make sure to kill all of the mentioned units/structures as soon as you see them. Snowspeeders are nearly impossible to hit, though, so ignore those—besides, their devastating Launch Tow Cable ability (which can bring AT-ATs down in about three seconds in the hands of a skilled pilot/gunner pair), won't be used in this mission.
When you get to the Command Post, hop out and approach the Command Post on foot. Suppress enemies coming in from Echo Base's direction, and roll around as much as possible to avoid fire from faraway Markswomen while capturing.
Capture the forward bunker[edit]
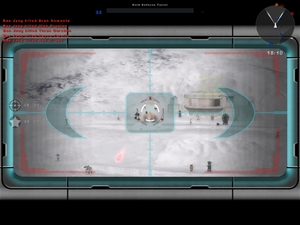
This is similar to the previous objective: use the AT-AT to slowly advance on the Command Post, destroying its defenses, and capture it when you're there. It'll take you a bit longer this time, because it's so far away, but that just means more time to pick off all the pesky turrets. After capturing the Outlook Command Post, an AT-ST walker should have spawned there, and you might be tempted to use that instead for its fast speed; however, it's so much weaker than the AT-AT that it's simply not worth it. Save that vehicle for later.
Destroy the Shield Generator[edit]
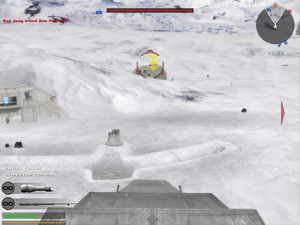
If you watched The Empire Strikes Back, you know what this thing looks like. In case you didn't though, the Shield Generator is still marked with the big yellow objective arrow. This structure is actually extremely tough; even if you play as a Shock Trooper, it'll sustain rocket fire for several minutes before going down. Fortunately, you have a supremely powerful weapon at your disposal... that's right, the AT-AT again. Just advance a bit until the generator is in sight range, then just bombard it with the alternate fire for about a minute until it's destroyed. You'll then be treated to a short clip from the movie.
Capture Echo Base Hangar[edit]
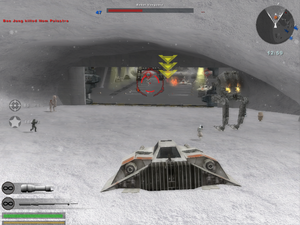
Getting from here to the Hangar is very time-consuming, and since you have a time limit now (twenty minutes to complete the next four objectives), it's in your best interest to ditch the AT-AT and either run or grab another vehicle (if you can find Tauntauns, they can get you there in about thirty seconds). Taking this hangar can be extremely difficult: there are dozens of Rebels inside, and they'll keep spawning until you neutralize the Command Post. Make use of the little coves in the hangar wall as cover, as well as the snowspeeders, as you advance upon the point.
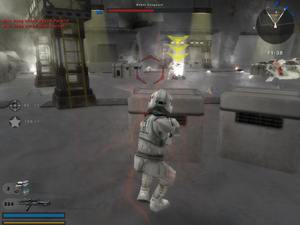
It's advisable to play as Engineer here, just so you can heal yourself with the health & ammo packs. If you have a rank from getting career medals, you might want to recruit a few teammates and have them follow you for some extra firepower. However you do it, once you clear the point, stay on it—don't let enemies get it back. Upon completion, you'll see another cinematic.
Destroy panel to gain access to back hangar[edit]
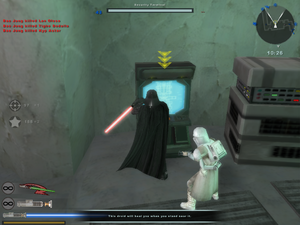
Upon completion of the previous objective, you will be awarded with the control of Lord Vader. Spawn at the Echo Base Hangar, and go into the ice caves, ignoring the force fields and following the single path laid out to you. A bit into the tunnel, you'll come to a room full of computer equipment; destroy the console marked with the objective arrow, and this leg of the mission will be complete.
Capture the back hangar CP[edit]
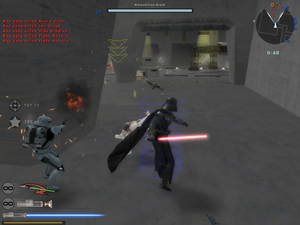
This can be hard. Go back to where the force fields used to be, and you'll find them all gone. Walk over either of the two bridges, and you'll come to another hangar—aptly named the back hangar. In addition to many Rebels, there's a turret mounted beneath the YT-1300 freighter to the right; destroy this first, then judiciously use lightsaber throw to stem the tide of Rebels. As you capture the point, have your Force Guard up and be careful not to venture out too far into the back launch field, or you'll get smoked by concentrated enemy fire. Even Darth Vader is not invincible.
Acquire the bomb beacon from the back hangar and place it under the transport ship[edit]
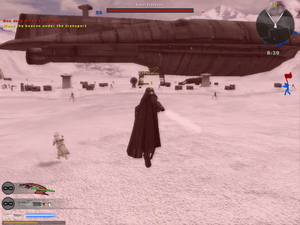
By this point, there's a high chance that you're running out of time. Therefore, you shouldn't stay to fight the swarms of Rebels out here; just grab the bomb from the back hangar, and rush to the Rebel transport. Yes, easier said than done: the field is lined with both auto- and manned turrets, and in fact it's nearly impossible to not die. This is okay. The bomb will stay where you dropped it, so spawn as a Stormtrooper or Dark Trooper and repeat picking it up and going as far as you can. Eventually, you'll make it to the arrow, but expect many frustrating deaths if you don't roll and jump to avoid fire.
Protect the beacon for one minute[edit]
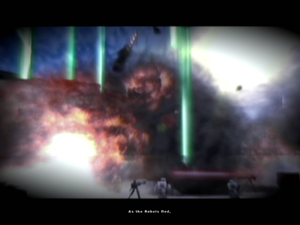
Basically, your job is to kill as many Rebels as you can before they throw grenades or shoot rockets at your precious bomb. You'll die almost immediately if you stay in the trench where you planted the bomb, so get out and use grenades of your own to discourage enemies from coming close enough to throw their stuff. The bomb is tough, and will withstand dozens after dozens of grenades, but if you just sit there it will be destroyed. If you don't feel like countering grenades with grenades, spawn as an Engineer and blast them with shrapnel. When the timer reaches zero, congratulations—you've beaten Star Wars: Battlefront II's main campaign!
