Before entering this stage[edit]
If you are following the Normal Walkthrough, you can re-visit the Desert Base and get the Legs upgrade. before coming here.
Whether you are following the Normal or Speed walkthrough, you should already have the Sonic Slicer, that is effective against Sagesse ("Serges"). You can lure that X-Hunter here.
Stage walkthrough[edit]
Bubble Crab is a real cool guy. He lives in a deep-sea base and it's up to you to put a stop to whatever it is he's doing down there.
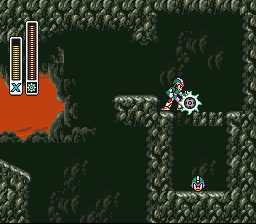
Head into the cave and dispatch the bats. If you have the Spin Wheel, you can drop it on the rocks to the right to grab a 1-up. If not, take the plunge down the hole into the deep.
Sub-boss[edit]
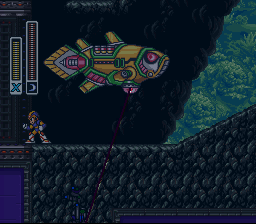
These fish move erratically, so hit them with charge shots to ensure a hit before diving deeper. In this large room, you'll be following a huge fish robot. It shines a spotlight back and forth, and if it catches you it'll fire a laser. You can destroy it by shooting each piece of it, but it doesn't make a difference unless there's an X-hunter you want to fight in this stage, in which case destroy it. If you have the arms upgrade, a fully charged Sonic Slicer or two will decimate it.
Heart tank[edit]
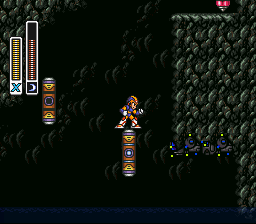
As the rock path heads downward, the large fish robot will open a large horizontal gate. Instead of heading into the large hole, dash jump over the hole and onto the far right wall. Continue to jump up the wall and at the top, you'll find a small alcove with a life pickup one level up in the cave. To get the Heart tank, drop back down to the alcove, stop just before the edge of the wall you jumped up prior. Drop down the ledge to wall cling, and then dash-jump from the very top of the cliff all the way to the left. Hold down the jump to get maximum airtime. You should see one a vertically moving hover platform. If you are lucky you will get it when it is at a low point and be able to grab on by wall-jumping, otherwise just try again. Jump on top of the platform and climb up the second little alcove to find the heart. Continue back down.
As you fall down the hole, immediately hug the left wall to find a hidden room with blue walls. Fully charge a Silk Shot here to get tons of free life energy; nice if you want to fill your Sub Tanks.
Sub-Tank[edit]
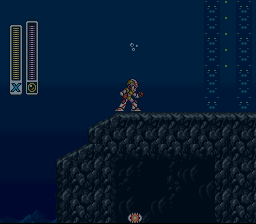
The big fish will continue lumbering on here, and there are jellyfish to deal with now, too. The first pit actually conceals an energy capsule in an alcove.
You will eventually find a different-colored platform, one that looks black and rocky. If you are following the normal walkthrough, then go to the center of this platform and use a fully charged Bubble Splash to enable you to jump higher under water. You will find a Sub-Tank on the surface. Wait... Bubble Splash? Is that not the weapon obtained from Bubble Crab in this exact level? Yes, you will have to come back to this stage after defeating the boss to obtain the Sub-Tank.
If you are following the speed walkthrough, you can acquire this item without using Bubble Splash by performing a Slope Jump. Simply walk from the center platform toward the slope on the left, then perform a jump (not a dash jump) from where the slope begins and you will jump higher than expected. Grab onto the left wall by wall kicking. Once you reach the surface of the water, repeatedly hit the jump button while moving to the right to reach the sub tank. This may take a couple tries, but is not difficult to do once you have learned how to do it.
Back on the sea bottom, did you notice the energy capsule in a locked-up room below your feet? The hidden entrance is from the right. Try a charged-up Silk Shot there.
X-Hunter room[edit]
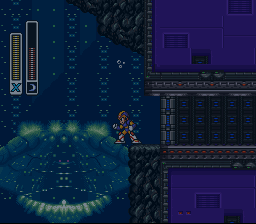
Continue on, being wary of the floating platforms and jellyfish.
If there is an X-hunter in the stage, either outrun the fish robot or destroy it and go all the way up the right wall to find the optional boss door where the fish would have docked. For more info on the X-hunter system click here.
If you do not care, head through the passage on the right wall. Turrets and screw enemies will line this hallway leading to Bubble Crab. If you have it, use the Sonic Slicer in the shaft going straight up to deal with the wall hugging enemies.
Maverick: Bubble Crab[edit]
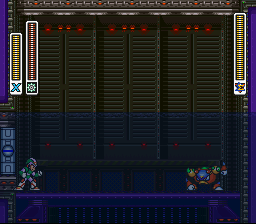
- Weakness: Spin Wheel
Bubble Crab! It is slow but powerful and it has a bubble shield. It is not the most maneuverable boss. For the most part, it crawls across the bottom of the stage. If you are above it, it will stop, lower its shield, and jump up into you. Every once in a while it will shoot a bubble ring at you, so watch it.
It has another attack that will send a series of bubbles to the top of the room. Inside the bubbles are some smaller crabs in them. If you pop them, the little crab inside will home in on you and blow up.
So there are a couple of ways to handle Bubble Crab. If you do not have its weakness you can take advantage of its jump attack because it drops its shield and jumps straight up. What you do is either wall-jump over it, air-dash, jump, what ever you do just jump over it. As it drops its shield blast it.
On the other hand, if you do have its weakness Spin Wheel... release the wheels! It will pop its bubble shield and cause major damage to Bubble Crab.
Special weapon[edit]
Bubble Crab gives you the Bubble Splash, that shoots projectiles in an upwards arc trajectory. More interesting, press and hold the shoot button for rapid fire. The charged-up version of the weapon creates a barrier around X, and it also allows to float in water.
The Bubble Splash is very effective against Flame Stag and the X-Hunter Violen.