So we've finally reached the surface. Surface Tension is one of the largest levels in the game, both in length and sheer size. Outdoor environments have properties that allow a number of unique situations and enemies that you have not yet faced. Because some of these situations involve combat in large, complex areas, there's no one specific way to play these levels. You'll have to use your experience and creativity to analyze the particular situation that you are and play it accordingly.
The Dam
Walk through the garage door before it closes, but be wary. There is a marine to your left and one to your right, as well as several more a little farther waiting to ambush you. Using the magnum or shotgun, take out the ones right outside the entrance. Shooting the explosive barrels may take out a few of the ones farther up the canyon and save you some health and ammo. Grab the ammunition the grunts dropped and proceed with caution. Stop near the end of the tunnel where you are still somewhat protected and survey the next area from relative safety.
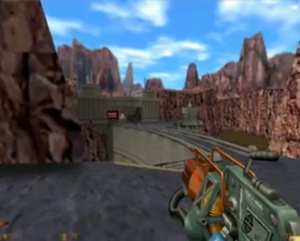
Here's the situation: up ahead, the road goes over a dam and ends at a closed blast door and an artillery gun emplacement. If you try to run straight across the dam, artillery fire will blow you to pieces. There is an Apache helicopter circling above that can't see you for now, but will fire at you once you are out in the open. The left side of the dam is dry, but is an unsurvivable drop. The right side, on the other hand, is full of water, but contains an Ichthyosaur (I hope you have some crossbow bolts). Every once in a while, the Apache will fire on the Ichthyosaur damaging it a little more. Technically, if you wait long enough, the Apache will kill the Ichthyosaur, but whether or not you wait for this is up to you and the supplies you have. There is a tower on the right side in the lake that has a protective alcove with a health station and a control that controls the turbine. You will need to hit this button to turn off the turbines. When you have done that, you'll have to jump into the lake and kill the Ichthyosaur. Once the Ichthyosaur is gone, swim back down to the bottom of the lake and find the valve wheel. Turning this opens the grates covering the pipes through the turbines. As long as the turbines are off, you will be able to swim through to the river on the other side of the dam. Grab the battery on the rocks and duck down underwater when the Apache is about to fire at you. Follow the river down the canyon and climb the ladder onto the structure at the end. Crawl into either pipe to escape the Apache.
In the Sand
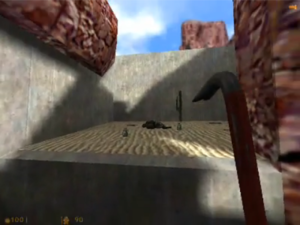
Whether or not you killed the Apache helicopter at the dam, there will be another one circling overhead here. The pipe terminates in a deep canyon, giving you two choices. The left path goes to a cave with a few headcrabs, a dead marine, and some supplies. The path to the right leads to several crates of ammo and a ladder in the concrete wall. Climb the ladder and jump across to a small area with some batteries, ammunition, and high walls for protection. This is the best place to take out the Apache. Get out your Tau Cannon and charge up the secondary fire mode when you hear the Apache approaching. As soon as you see it, hit it in either the cockpit or at the base of the rotors. Take shelter behind the tall concrete walls when it shoots at you and repeat this as many times as it takes to bring it down.
With the Apache gone, this part of the level is a whole lot easier. When there is no more danger, jump back to the ledge and follow it around to find another ladder. At the top of this ladder is a rather large military fortification in the sand. Follow the rock wall to the left and take the first passage you come to. This leads to a small sandy area guarded by a large green tentacle. If you need the supplies within the tentacle's reach, crouch to avoid making sound and throw a grenade for distraction if you have to. If you shoot this tentacle a couple of times, it will retract for a short while, allowing you to get the stuff scattered near the tentacle's base.
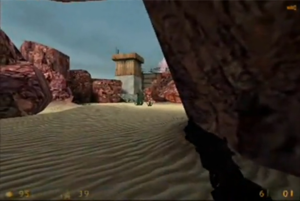
Go back out the way you came and follow the ledge to find another tunnel in the wall. This leads to an opening containing three grunts. There is a large boulder on the right side of the clearing and a tower on the far side. The crossbow or magnum are good for this long range battle. When the marines are gone, head into the tower and turn the wheel marked "Storm Drain Hatch". There is also a small alcove in this area with supplies, but it is booby-trapped with a laser mine. The other alcove in this area leads to another opening filled not with marines, but with landmines.
Save constantly from here to the drain opening. The landmines are mostly out in the open area, so stay to the right side as you make your way through this area. Crawl under the fallen rock, making sure to stay as close to the rocky wall as possible. There is a mine in the sand right in front of the barbed wire, so jump over it or shoot the area until you hit it. Once you've made it to the slightly darker colored sand slope on the far side of the barbed wire, you're safe, as there are no mines on this slope. Jump over the barbed wire and climb down the ladder into the storm drain. At the bottom of the ladder, smash the grate and crawl through the tunnel.
The Cliffs
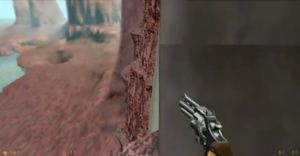
At the end of this twisting concrete pipe, you will see a jet fly by. Before you step out of the pipe, inch forward looking down and to your left. There is a turret on the lowest cliff that will continue to pester you if you don't knock it out now. There's also one on the ledge above it that should be taken out before you even leave the pipe. When you do step out of the pipe, be careful, as you are not given much room. There is a marine stationed on the ledge below you, so inch up to it and look down. When he's dead, walk over to the left side of the ledge and spot the overhang that you can jump to before landing where the marine was standing.
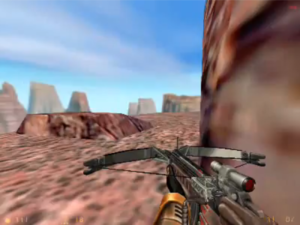
When you've safely landed on this ledge, creep over to the edge on the left and look down. There are a series of ledges that you can jump to in order to reach the lower level. One of these ledges leads around to a cave containing a few health packs if you need them. At the very bottom of the series of drops is a battery and a rather rickety looking wooden bridge. If you try to walk over the planks, they will snap and you will fall through. Since this hazard suit isn't equipped with a parachute, walk over the bridge's support cables instead. Around the corner is a sole marine hanging out on the ledge. The crossbow or magnum are a good choice here, as there's no space to move and hardly any cover. Continue along the ledge past the large concrete structure until you get to a cave. There is a lone marine in this cave guarding a powerful weapon. There are a plentitude of health packs and batteries in this cave as well as a Rocket Launcher. Pick up the RPG, as you will need it shortly.
Upon leaving the cave, an Apache attempts to ambush you. It may have worked if you hadn't just found a handy new weapon. Give the Apache a rocket or two to the cockpit to send it into the canyon. When the Apache is down, switch to the pistol and continue along the ledge to a cable ladder. This will take you to a higher ledge with a convenient ramp in the rock and several ledges you will need to jump to in order to reach another cable ladder. When you've climbed this ladder, you'll notice a pipe sticking out of the cliffs. There's a headcrab waiting for its next victim, so peek around the edge and watch the foolish alien jump to its doom. Jump into the pipe and crawl away from these evil cliffs.
Open Combat
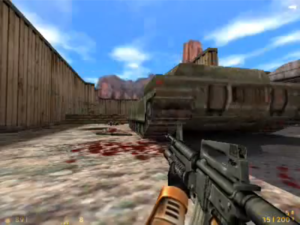
There are many different ways to do this next section, as each path here leads to a different part of the area, but for the easiest way, take a right at the junction where the pipe splits. This pipe will drop off into a canal filled with ankle-deep water. Wade straight across and enter the pipe on the far side. Take a right when this pipe splits, taking you to the end of the pipe and a ladder. This ladder will take you out to the grunt's fortification behind an armored tank. From this position, the tank can't hit you, so concentrate on taking out the scattered marines in the area before destroying the tank. Make sure to destroy the tank with satchel charges or grenades, saving the RPG rockets for a more dire situation.There is a health station and several crates of supplies, including satchel charges and RPG rockets, in the garage behind the tank. When the area is cleared of enemies, find the guard station next to the large door and press the button inside. This will open the door, granting you access to the next part of the level.
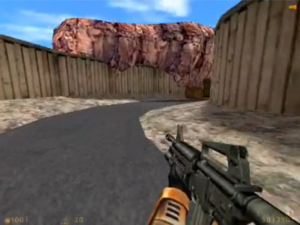
Around this corner, a rocket shooting tank is waiting for you. Take out the RPG and turn off the laser sight. Hide behind one of the non-explosive boxes until the rockets stop flying by. When it's relatively safe, peek out and fire a rocket at the tank's dome before sneaking back into cover. A few rockets and explosions later, the tank will blow its top, allowing you to safely pass. Before you do, however, jump through the hole in the wall to your right to find two marines guarding a small outpost full of supplies. When you have scavenged all that you can from both the small outpost and non-explosive boxes up top, walk past the tank and through the large garage-type door.
At the other side of the door, you'll see the aliens dropping in reinforcements. When the aliens are down, go to the right. Detonate the laser mine around the next corner and proceed to the small flight of stairs. Destroy the laser mines in the path, but don't go too far. A wounded security guard pleads for help, shot by a sniper. From the top of the stairs, look up to see a window with netting over it and a gun sticking out. Lob a grenade into this alcove to take out the sniper (when he's dead, there will be a blood spatter under the window). Run past the dead security guard to reach yet another minefield.
There are land mines on this part as well as around the corner, so two well-placed grenades should clear out all the mines. Beyond the mines is a section of barbed wire you must crawl under followed by an enclosure containing two electrified towers, one leaning onto the building. Shoot the two explosive barrels next to the electric converters, causing them to shut down. Climb the fallen tower onto the building's roof and jump down through a giant hole to enter the building.
Ordnance Storage Facility
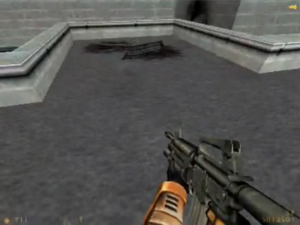
The scientist locked up in this room will tell you not to detonate any mines in the next room, for it's filled with explosives. You would do well heeding his advice, for if any of the mines or explosives are set off in this building, whether by you or by an enemy, the entire building will go up with you inside. You should save often while navigating the next few rooms.
Break all the boxes in the room you fall into for supplies, then head out into the hall. Jump over the first laser mine and either use the box or the railing to get over the second. The room past the metal door to the left is another set of boxes. Do not destroy a box unless you know for sure that there's not a laser mine attached to it (a clip of ammo just isn't worth the risk). For now, ignore the door and continue straight down the hall, jumping over another laser mine. Crawl under the final laser mine into a large room where you see what the scientist was so worried about- a pair of rockets hang from the ceiling just asking to be detonated.

There are two headcrabs wandering around the room, so find them and render them motionless before they jump through a laser mine. Follow the wall, staying well out of the lasers' path, until you get to three or four boxes stacked on top of each other. Don't destroy any of these boxes but, instead, crouch and crawl under the small space created between the two bottom boxes. Once you're through, turn right and spot the box larger than the others, whose face marked in orange and is already broken open a little. Smash this side of the box with your crowbar and it should shatter without disturbing any of the other sides. Walk through and break the other side of the box to get to the other side. From here, go left and find the lift. Break the box here that would otherwise have set off a mine above when you activate it later.
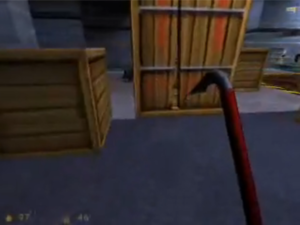
Turn around and follow the wall on your left toward the red light. Go up the stairs here, ducking under the laser mine. There is a single headcrab up here, so proceed slowly and shoot it before it has a chance to jump. The stairs lead to a small control room with a button near the window that calls a lift (make sure the box on the lift is destroyed before you call it). Walk out onto the lift and look out over the room. In the very center, surrounded by blue-green lasers, is a a larger lift surrounded by yellow and black stripes. Though the jump from up here is possible, it is difficult, so save beforehand in case you miss it. If it is proving to be a difficult jump, you can always push one of the boxes on the loser level closer and jump from the ledge to the box to the lift. When you're safe on the lift in the middle of the room, hit the button that can't decide whether to be green or red to descend away from this room of fiery death.