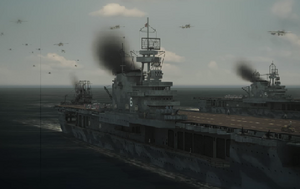
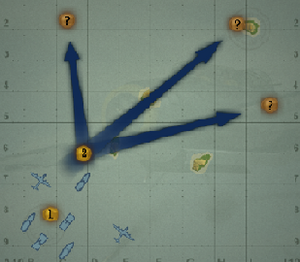
The final mission is, naturally, one of the toughest in the game. The Yorktown is retreating and the Lexington is no more, so you'll be using instead the USS Hornet and the USS Enterprise for this mission. It's not much of a sea battle, and your aircraft carriers are the most powerful ships you have, so this will be a massive air battle that will test not only your aviation skills but also your micromanagement and general tactics.
Either the Hornet or the Enterprise must survive - you can afford to lose one, but not both.
Primary Objectives
- Sink the Hiryū and the Soryū
- Either the USS Hornet or the USS Enterprise must survive
Secondary Objectives
- Sink I-25
- Sink the Maya and the Tone
Hidden Objectives
- Order an attack on Hiryū or Soryū before being detected
- Sink the heavy cruiser reinforcements
The stage is set for the final mission in the game. Get ready, and all hands...
Battlestations!
Calm before the Storm[edit]
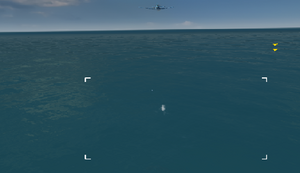
Looking at the briefing, your mission is, like at Coral Sea, to sink the enemy carriers Hiryū and Soryū. Unfortunately, no one knows exactly where they are - they're either in the northwest, northeast, or southeastern corner of the map. Fortunately you have a pair of PBY Catalinas to help you out.
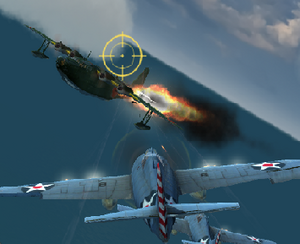
Right off the bat, scramble fighters. The number depends on the level of difficulty you're playing on - on Normal you'll be quite stressed at four squads, but on Rookie you can put up two and be fine. Also, from the other carrier, launch one squad of SBD Dauntlesses armed with depth charges. Avengers can equip depth charges too, but Dauntlesses carry two whereas Avengers carry only one.
The first thing sonar will detect is I-23 to the north, heading south - directly towards you. Rather than deploying destroyers to sink I-23, have your PBY Catalinas drop their depth charges on the enemy sub. Drop depth charges in the same manner you drop bombs, only aim for the white target bracket instead of the target itself. If all four depth charges from both Catalinas hit their target, your Dauntlesses can head for home.
There are now two enemy threats - the Maya and several unknown aircraft. The unknown aircraft are revealed to be H8K Emilys on the lookout for you. Have your Wildcats shoot them down for some easy kills. There are two squads of Emilys - one is alone, near the cruiser Maya - the other is to the east. The eastern squadron actually consists of two Emilys, but you should still manage against them.
To deal with the Maya, start putting up squads of torpedo bombers, and dive bombers if you feel like it. Torpedo bombers are the better plane for this, but dive bombers can force the enemy to distract their AA - so always have your attack group consist primarily of torpedo, not dive, bombers. The Maya should go down after two or three squads of torpedo hits. If you deploy dive bombers, aim for the fuel tanks, three hits or so will sink the cruiser
While all this is happening, send your Catalinas to the map's edges, looking for the enemy carrier group. They move fast and have excellent line of sight, so you should pick them up no problem. Chances are they'll get shot down, but at least try to pull them out. The moment you see the enemy carriers, grab a bomber squad - either an SBD or an Avenger, whether it's armed or not, and order it to hit one of the carriers. You should hear a short victory piece play - once this is done, you've fulfilled an easy hidden objective, and you can cancel your attack and have your planes resume their business.
By now the enemy knows where you are, so now the fight really starts.
Battlestations![edit]
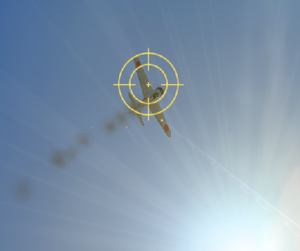
Another submarine will appear sooner or later, and be ready to deploy some SBDs to sink it. The good news is, that's the last sub on the map, so you can focus on bombs and torpedoes.
The first thing you have to do is take out one of the enemy carriers. If you can take out one of the enemy carriers, the mission becomes drastically easier and things balance out a little more. The enemy has an unlimited number of aircraft, but you only have about twenty, so sinking an enemy carrier really helps in the long run. Do this by rushing it with a gigantic wing of twelve dive bombers. Don't send everything at the Hiryū or Soryū though - you'll leave your own carriers open to a massive attack. Instead, have one of your carriers launch all fighters, and have the other launch all bombers.
On higher difficulties, the enemy will have a LOT of Zeroes patrolling the skies above their carriers, and so a good idea is to hit the carriers with everything you have - fighters to distract the Zeroes while the bombers hit the carrier. As for the other enemy bombers, try and injure them as you fly in the opposite direction they are. Your fleet can handle the rest.
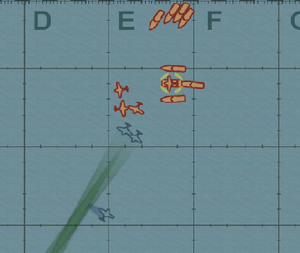
Once you've sunk an enemy carrier, you'll receive news regarding enemy reinforcements. These guys are quite tough - two destroyers, and two heavy cruisers. They'll spawn on the border closest to the carrier fleet and will ultimately head in your direction. That's the bad news. The good news is that the destroyers are much faster than the heavy cruisers, and will often drift out of their protection. Deploy more dive bombers to fry the destroyers, and then torpedo bombers to take care of the enemy cruisers. Try not to engage them in a sea battle - you only have one heavy cruiser and two destroyers while they have two heavy cruisers and two destroyers.
All the while you'll continue to be hit by enemy aircraft from the last enemy carrier. The trick is to balance your aircraft between attack and defence, especially with the enemy cruisers bearing down on you. If you can sink the enemy cruisers and their destroyer escorts though, you'll score yourself the last hidden objective of the game.
All that's left now is to remove the last enemy carrier from the map. Again, a massive bomber blitz backed with fighters can do wonders here. It doesn't matter now how many aircraft you lose - so long as they drop their ordnance first and score a hit, that's fine. Once you've sunk the last enemy carrier, the mission - and the single player campaign - concludes.
