
| A | |
| C | |
| D | |
| E | |
| F | |
| G |
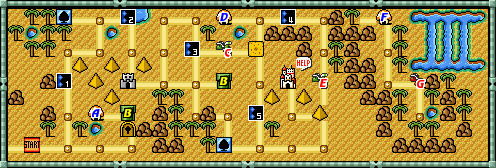
With Larry Koopa out of the picture, it's time to say arrivederci to lush Grass Land. Ahead you'll find the golden sands and scorching heat of the great Desert Hill (a.k.a. Koopahari Desert).
Mario will obtain his first Hammer item from a Hammer Bros. on the far side of the desert. If he chooses to use it now, he can smash a rock which blocks the path that leads to a secret oasis. For his trouble, he'll find a Toad's House with a free Frog Suit, and a Fire Bros. jealously guarding the stolen third Warp Whistle!
World 2-1[edit | edit source]
You'll begin your desert adventure among the ruins of a long-lost Mushroom civilization. In these ancient ruins, Mario plays archaeologist and leaves no stone unturned in search of coins and power-ups!
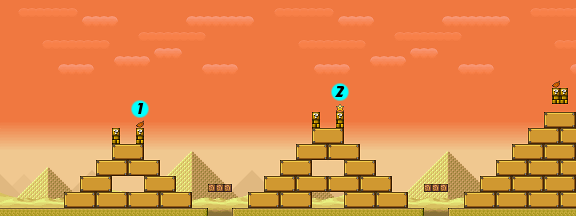
- 1: You'll see a Micro-Goomba's feet appear below the Pile Driver right before he leaps at you. Try to get the jump on him. Move quickly into the crevice, then wait for the Pile Driver to hop onto the ? Block before you hit it from below. You'll eliminate the foe and reveal a power-up.
- 2: Beware of more jumping Pile Driver Micro-Goombas. Either time your jumps to stomp on them or sneak underneath them as they arc across the sky. Don't let the Pile Drivers land on you, and avoid touching them from the side.
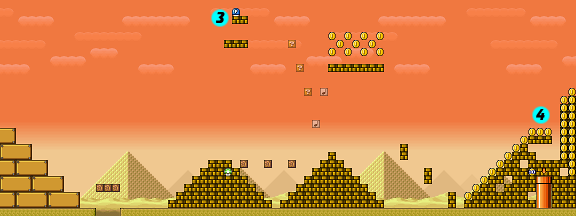
- 3: Kick a Koopa here. Pick up the Koopa at the beginning of the world and hit this block with it for an item.
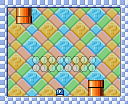
- 4: As Raccoon Mario, sprint to attain flying speed and rocket straight upward through the blocks to reach a pipe. Hit the Switch Block inside (shown right) to reveal coins.
- 5: Tail attack tactics: Although the tail won't defeat every enemy, it will work on Fire Snakes. Be sure to get the 1-Up this one guards.
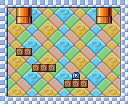
- 6: The last pipe in the world leads to a room with a Switch Block. Avoid the Piranha Plant, then crouch on the last pipe to slide into a secret chamber (shown right). Stomp the Switch Block and exit the chamber to collect the coins.
World 2-2[edit | edit source]
Water is a welcome sight in the parched desert, but watch out for quicksand! Collect 30 or more coins in this level, and the White Mushroom House will appear on the Map Screen. It's a tough feat and takes practice!
- 1: Nudge the Wood Block from the side to earn a power-up. If you're already Super Mario, you'll find a Super Leaf.
- 2: Hold
to run down the hill and gain speed, then jump before the bottom to leap across the sandy chasm and onto the opposite hillside. The Piranha Plant won't get a taste of you.
- 3: Instead of riding the platform all the way to the end of the stage, collect all of the visible coins above the water and make the Switch Block appear. Jump off the platform and swim left. The platform will return; get on the platform, stomp the Switch Block.
- 4: Collect 30 coins to get the Anchor. Collect all the coins that were once blocks. Make a running Koopa-assisted leap off the platform to get the last four! If you can collect 30 coins, you'll receive an Anchor. Use the Anchor to prevent the airship from moving around the map. Note that this is harder on the NES because the level has three less coins.
World 2 Fortress[edit | edit source]
Conquer a desert fortress defended by Thwomp Traps, ghostly guards and big boss BOOM-BOOM. Use Dry Bones to get unlimited 1-Ups. As Raccoon Mario, you can use a similar technique to the one used with Goombas in World 1-2 here with Dry Bones.
Part 1[edit | edit source]
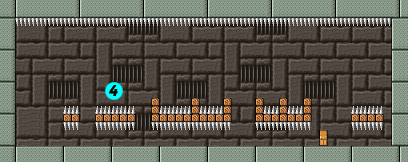
- 1: Dry Bones comes back after being stomped. If you get three Dry Bones together, as Raccoon Mario you can stomp them repeatedly without touching the ground, gaining more and more points and eventually 1-Ups.
- 2: Get close to the Thwomp Trap to trigger it to fall. Wait for it to crash down and begin to move back up before you pass it.
- 3: Boo Diddly can smell fear. He'll chase you as soon as you turn your back to him. Simply turn toward him to stop the specter in his tracks.
Part 2[edit | edit source]
- As soon as you enter this section, Boo Didly will begin to chase you again. Face him to stop him in his tracks.
- Get close to the Thwomp to trigger his fall. As he begins to ascend for another drop, run under him to get past. Watch out for the spikes!
- Once you've cleared the spikes, avoid another Boo Didly and collect your power-up. Dash towards the door at the end bypassing all four Thwomps in the process.
Part 3[edit | edit source]
- 4: Above the spikes or below them—the choice is yours: just don't let Boo get ahold of you. Study the timing of the spikes to pass the perilous section safely.
Part 4[edit | edit source]
- B: Another BOOM-BOOM waits for you here. He's pretty similar to the last one. Give BOOM-BOOM three swift stomps to the head. When he falls, you'll shake the fortress to the ground.
World 2-3[edit | edit source]
Loyal Fire Snakes guard the gold pyramids of the Mushroom Pharoahs. The pyramids of the Mushroom Pharaohs loom ahead. Although filled with coins, they are daunting obstacles.
- 1: If you aren't Super Mario-sized, pick up a Koopa shell and throw it at a ? Block to claim your prize.
- 2: Use the Starman hidden in the ? Block to effortlessly eliminate the Fire Snakes that protect the pyramids.
- 3: Take to the skies and find the Switch Block that will transform the gold blocks of the pyramids into coins. Drop straight down after you hit it and don't forget to pick up the 1-Up that's sealed in a block among the coins.
- 4: It'll take some nimble footwork to get to the pipe leading to the stage goal. Carefully drop on top of a Koopa Troopa, kick its shell and jump back up to safety. Watch as the shell tunnels through blocks to reveal the entrance to the pipe. Be careful if you attempt to collect the coins from the 10-Coin Block.
World 2 Quicksand[edit | edit source]
Sun-backed sand stretches as far as the eye can see. You'd better wear sunscreen. Natural forces will work to halt Mario's progress through this world—a sinister sun and terrible tornado.
- 1: It takes a running jump to clear the Venus Fire Trap-infested quicksand pit. Move fast, or they'll flame you. Once you reach the other side, you may wish to grab the shell of the Koopa and hold on to it as run along.
- 2: The swirling sand twister will easily lift you up and throw you back. To overcome it, run towards the right and when you get to the tornado, jump directly into its center. If you time your jump correctly, it will carry you a long way.
- 3: No, it's not a mirage, and you aren't suffering from heat stroke—the sun is actually chasing you! If you aren't holding a Koopa shell when the Angry Sun swoops out of the sky, jump on a Koopa Paratroopa and kick it's shell at your pursuer to force an early sunset.


