Onderduiker (talk | contribs) m (Onderduiker moved page Star Wars Jedi Knight: Dark Forces II/Level Fifteen: The Falling Ship to Star Wars Jedi Knight: Dark Forces II/Falling Ship without leaving a redirect: Shortened due to overlap in Footer Nav - ToC already has numbered list) |
Onderduiker (talk | contribs) m (Used {{SWJKDF2/Mission}}, added mission name if Seduced by the Dark Side, shortened section titles) |
||
| (2 intermediate revisions by 2 users not shown) | |||
| Line 1: | Line 1: | ||
{{Header Nav|game=Star Wars Jedi Knight: Dark Forces II}} | {{Header Nav|game=Star Wars Jedi Knight: Dark Forces II}} | ||
{{SWJKDF2/Mission|15 the falling ship|15 - The Falling Ship <nowiki>|</nowiki> 15 - Into the Darkside | |||
| The cargo ship's anti-gravity systems are failing. Race to the captured Mouldy Crow in the landing bay before the ship crashes into the canyon floor below. | |||
| | |||
* Race to the captured Mouldy Crow in the landing bay before the cargo ship crashes into the canyon floor below. You can use the braking thrusters to slow the ship's descent. | |||
| 1}} | |||
This level is extremely disorienting, mainly due to the fact that the falling cargo ship is canted to a diagonal. It is the only timed level in the entire game, as well as the only level that contains actual dead-ends and areas the player can’t get out of. There are three different paths through the cargo ship to the landing bay. | |||
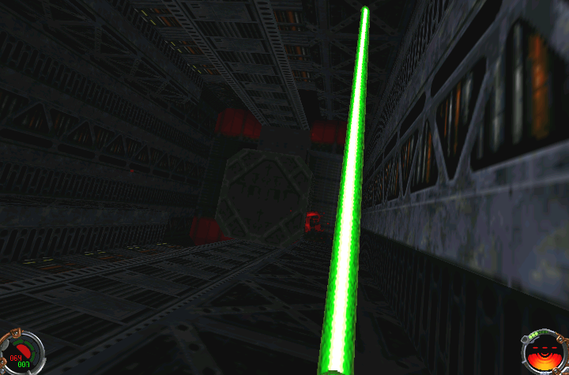
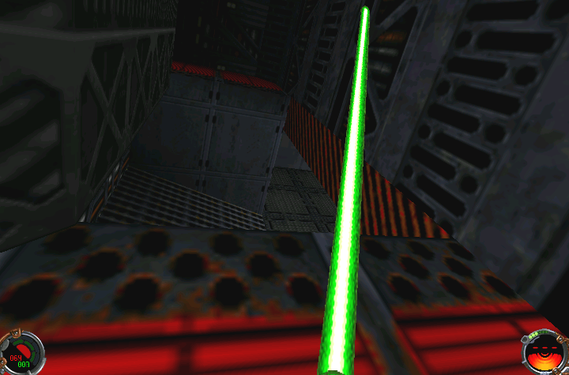
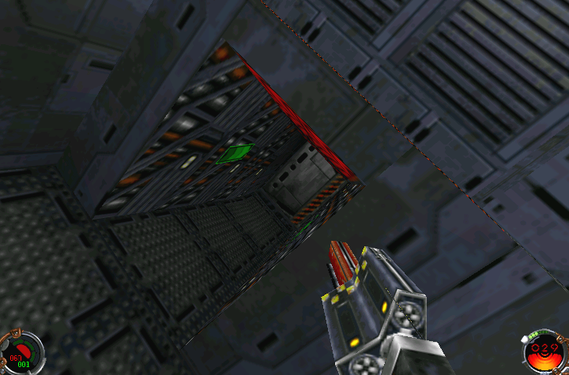
If you are wanting to get the secret star on hard, it is recommended to bind a button for your lightsaber at a minimum, and perhaps buttons for quick save, Force Jump, and Force Speed. Due to the nature of this level, the routes are explained via screenshots and wording is kept to a minimum. | |||
'''Secret Area 1/1:''' The first and only secret area in this level is in the room Kyle starts in. Walk up the slope on the left-hand side, jump up into the small tunnel, and slash the grate. | '''Secret Area 1/1:''' The first and only secret area in this level is in the room Kyle starts in. Walk up the slope on the left-hand side, jump up into the small tunnel, and slash the grate. | ||
==Route 1: hole in | ==Route 1: hole in floor== | ||
In the same room as the secret area, there are cutouts in the floor through which Kyle can fall. There are several flashing arrows on the walls that are either green, yellow, or red. As Kyle gets closer to the landing bay, the arrows will be red, but regardless of color, they all point in the direction Kyle needs to go. | In the same room as the secret area, there are cutouts in the floor through which Kyle can fall. There are several flashing arrows on the walls that are either green, yellow, or red. As Kyle gets closer to the landing bay, the arrows will be red, but regardless of color, they all point in the direction Kyle needs to go. | ||
| Line 30: | Line 29: | ||
</gallery> | </gallery> | ||
==Route 2: through | ==Route 2: through secret area== | ||
There is another grate at the opposite end of the secret area that leads to very wide-open parts of the ship and long falls. This route deals the most damage of the three but is the fastest and if followed correctly, it guarantees Kyle will end up in front of the door that leads to the landing bay controls. | There is another grate at the opposite end of the secret area that leads to very wide-open parts of the ship and long falls. This route deals the most damage of the three but is the fastest and if followed correctly, it guarantees Kyle will end up in front of the door that leads to the landing bay controls. | ||
| Line 47: | Line 46: | ||
</gallery> | </gallery> | ||
==Route 3: | ==Route 3: control room== | ||
If the player is playing on hard difficulty, this route | If the player is playing on hard difficulty, this route will allow you to buy an extra minute for your run. The path leads to the control room that contains the port and starboard engine controls, which grants an extra minute of time. | ||
<gallery mode=packed heights=250> | <gallery mode=packed heights=250> | ||
| Line 68: | Line 67: | ||
==Universal route== | ==Universal route== | ||
At a point near the end of the level, the three routes will all converge. The universal route consists of the two paths (left or right) that Kyle can take to access the landing bay controls and the catwalk to the captured ship. At this point in the level, GO RIGHT FIRST. This will ensure that the player will first lower the captured ship and unlock the landing trail and not have to backtrack later. Route #2 will dump Kyle in front of the door that can be found along the right-hand path, | At a point near the end of the level, the three routes will all converge. The universal route consists of the two paths (left or right) that Kyle can take to access the landing bay controls and the catwalk to the captured ship. At this point in the level, GO RIGHT FIRST. This will ensure that the player will first lower the captured ship and unlock the landing trail and not have to backtrack later. Route #2 will dump Kyle in front of the door that can be found along the right-hand path, which puts you further along the path. | ||
There is an easily overlooked button that will buy you extra time in the room with the landing bay switch; on the wall directly opposite of the switch, you'll see a neon rectangle (a switch or touchscreen of some sort). This can be seen on the left of the fourth photo below. | |||
Hitting it on your way out of the room will give you an extra 30 seconds, and this will be mandatory if you are on hard and skipped the control room. | |||
<gallery mode=packed heights=250> | <gallery mode=packed heights=250> | ||
| Line 79: | Line 82: | ||
</gallery> | </gallery> | ||
{{Footer Nav|game=Star Wars Jedi Knight: Dark Forces II|prevpage= | {{Footer Nav|game=Star Wars Jedi Knight: Dark Forces II|prevpage=Maw - The Revenge|nextpage=Sariss - Jedi Battleground}} | ||
Latest revision as of 00:02, 9 February 2024
| Objectives |
|---|
|
| Secrets: 1 |
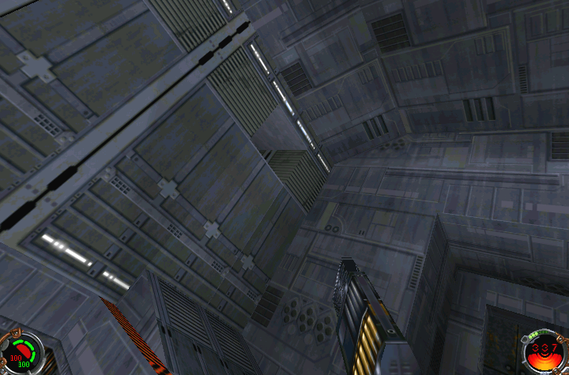
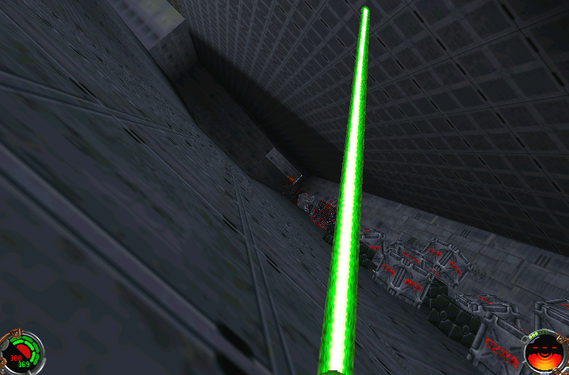
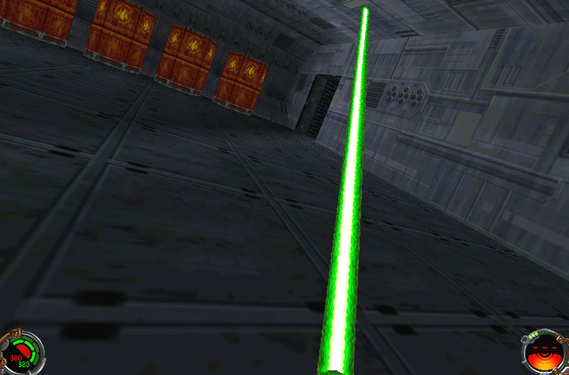
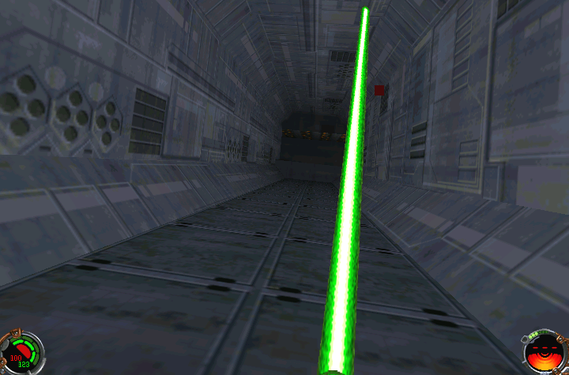
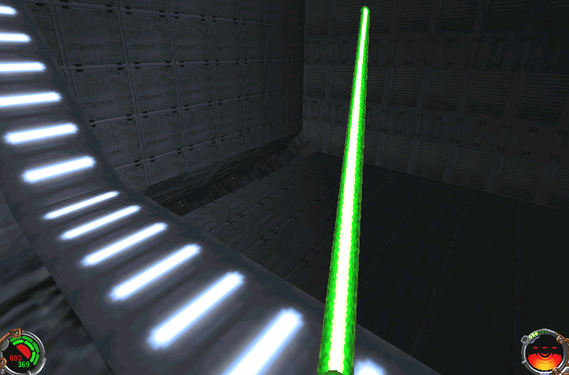
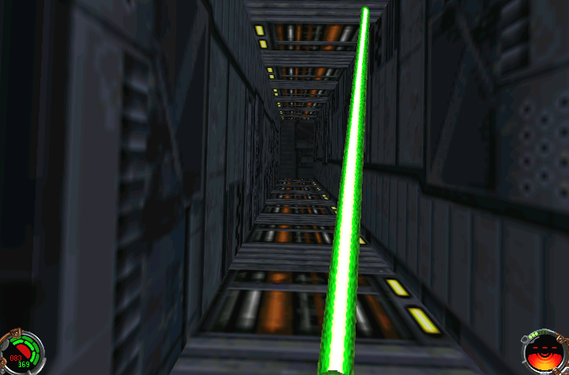
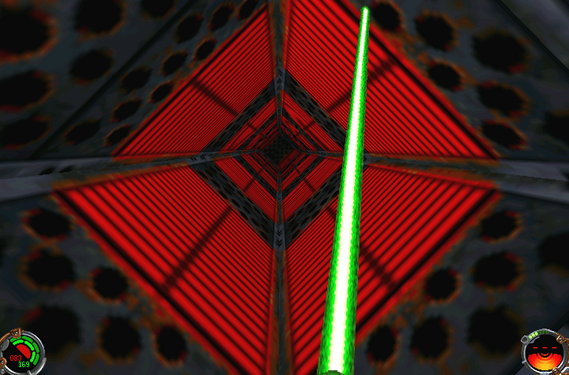
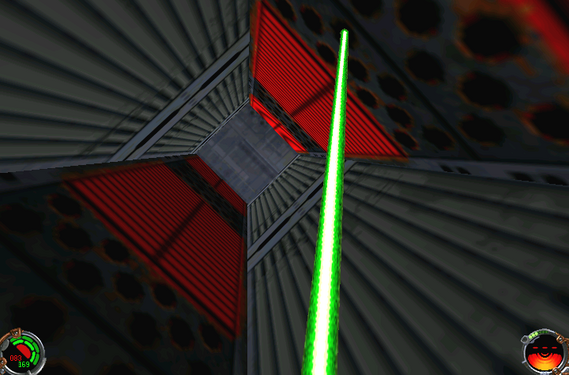
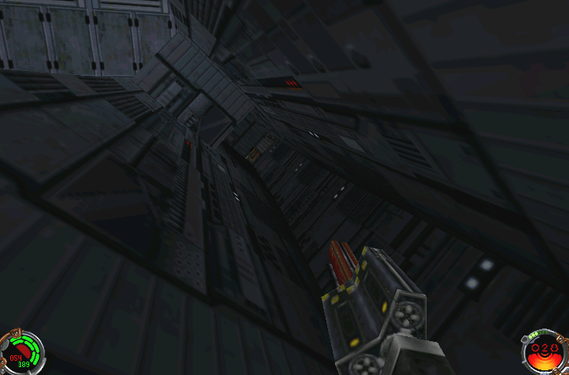
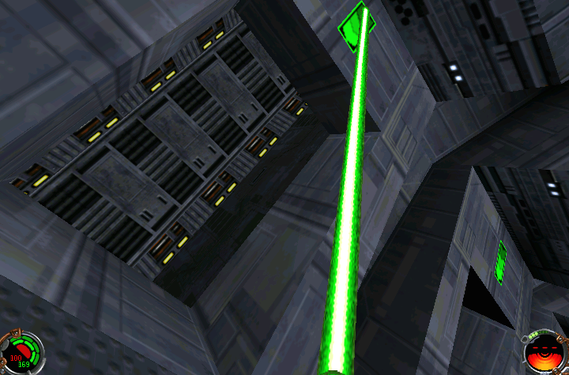
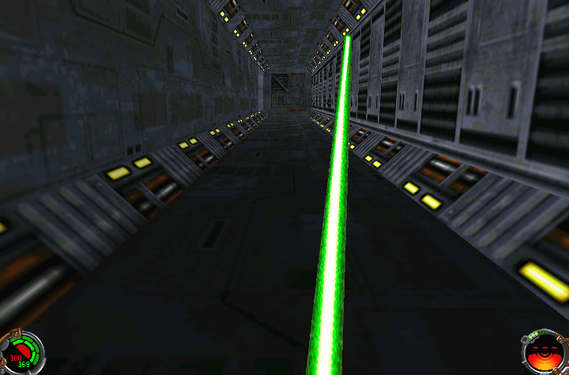
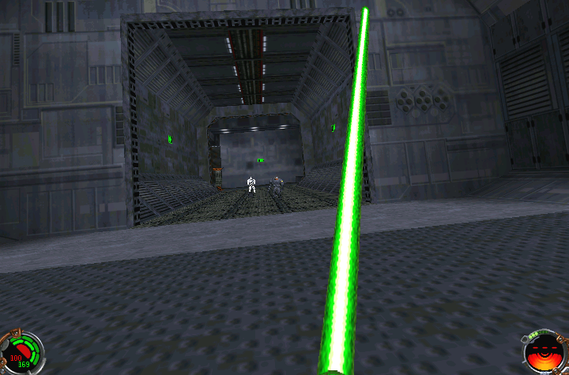
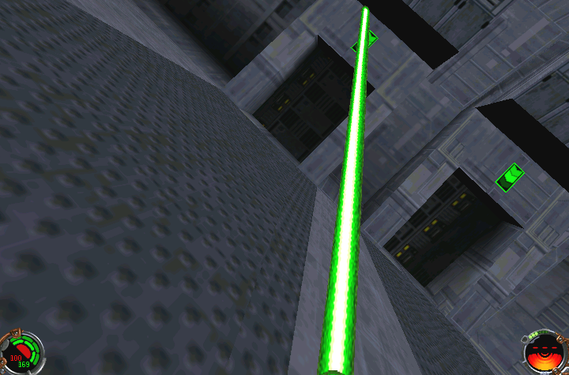
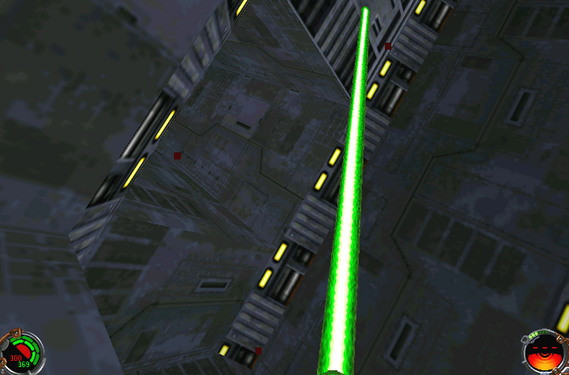
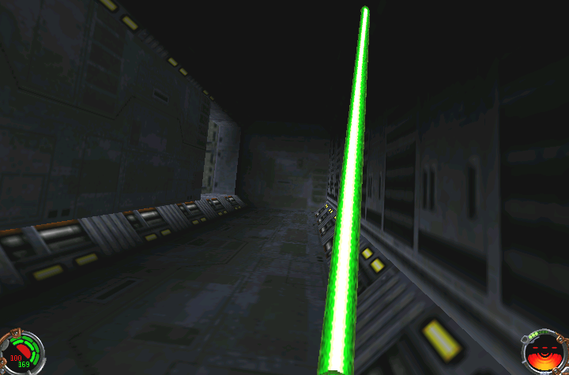
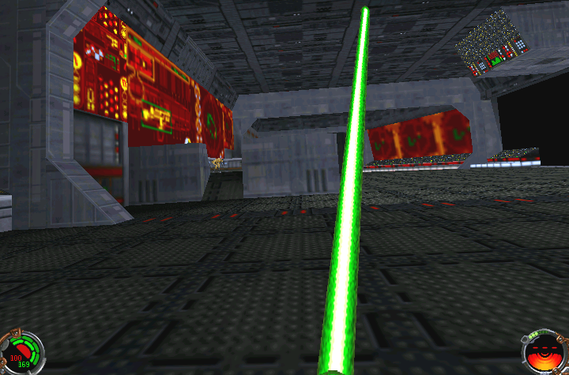
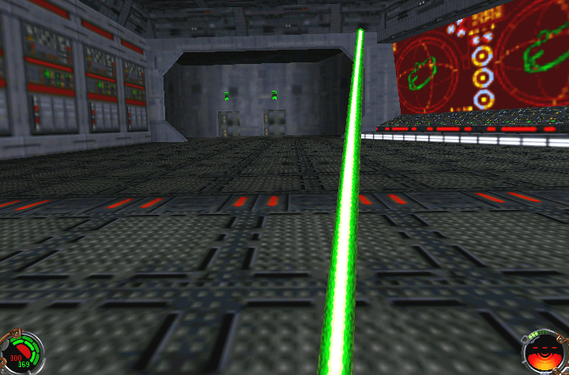
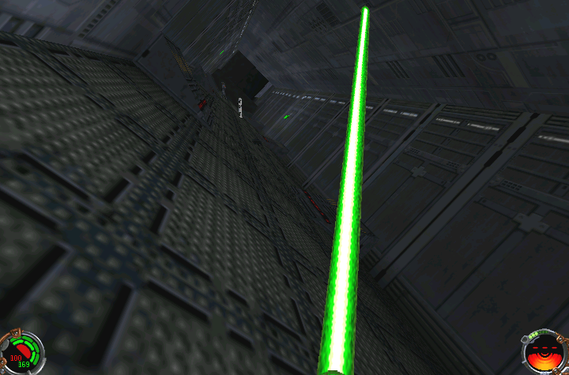
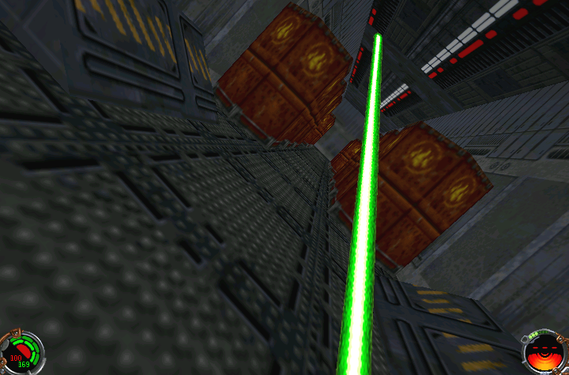
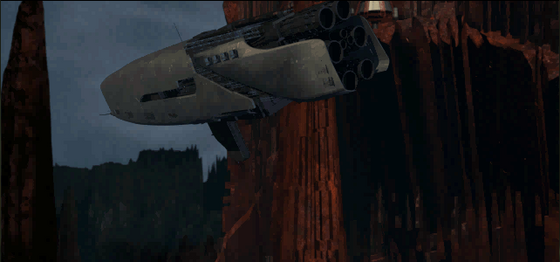
This level is extremely disorienting, mainly due to the fact that the falling cargo ship is canted to a diagonal. It is the only timed level in the entire game, as well as the only level that contains actual dead-ends and areas the player can’t get out of. There are three different paths through the cargo ship to the landing bay.
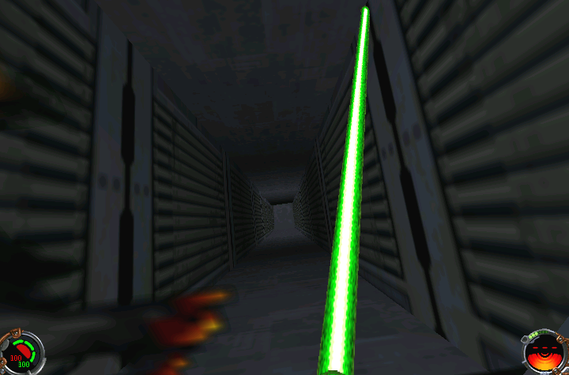
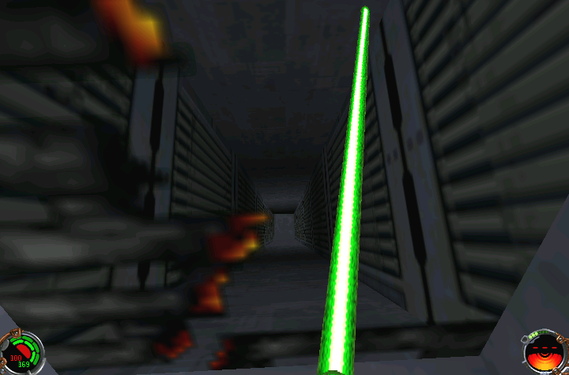
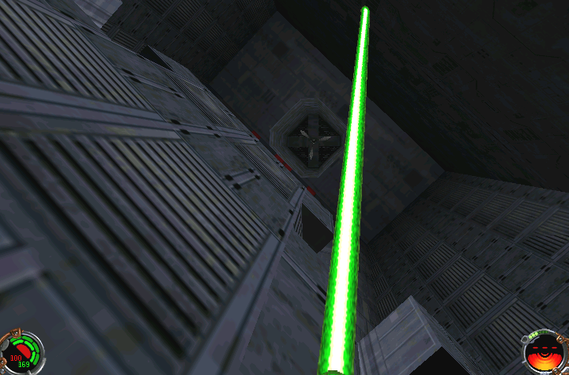
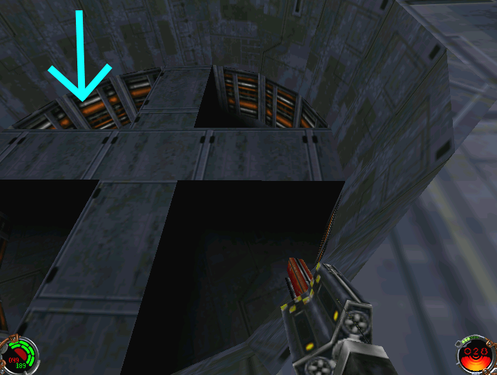
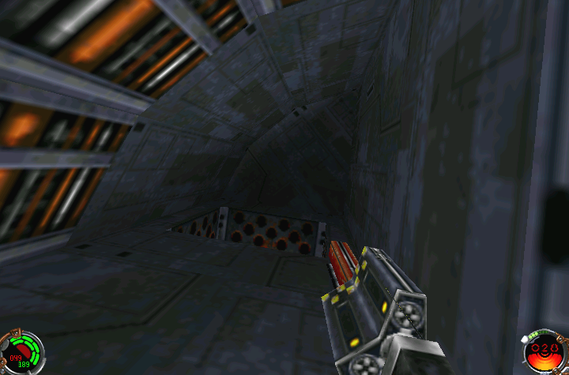
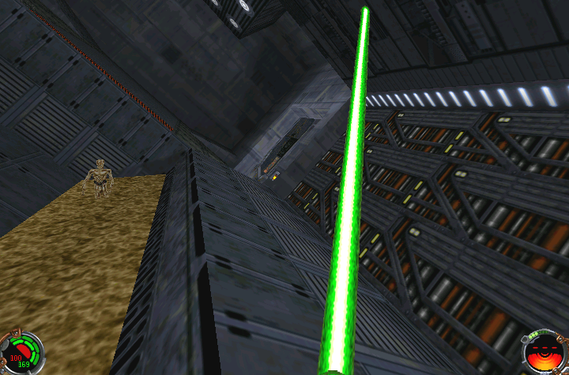
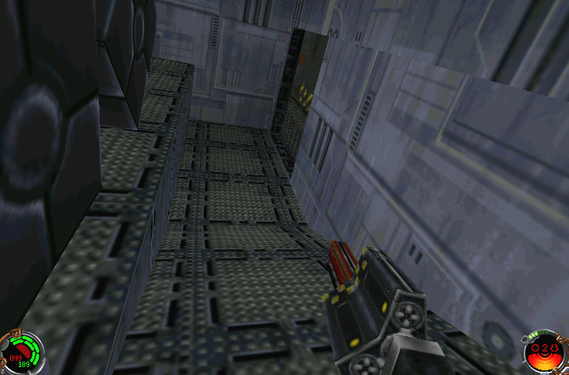
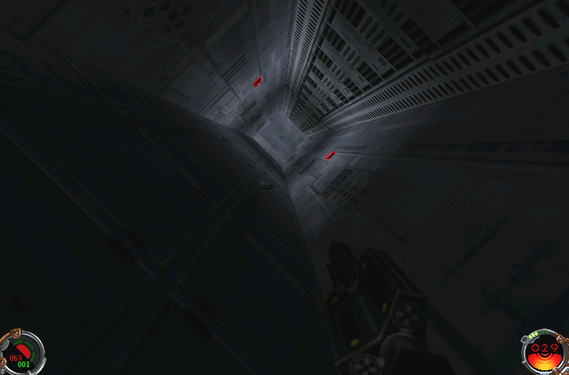
If you are wanting to get the secret star on hard, it is recommended to bind a button for your lightsaber at a minimum, and perhaps buttons for quick save, Force Jump, and Force Speed. Due to the nature of this level, the routes are explained via screenshots and wording is kept to a minimum.
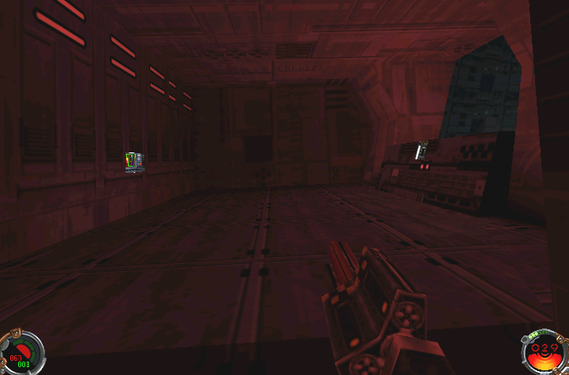
Secret Area 1/1: The first and only secret area in this level is in the room Kyle starts in. Walk up the slope on the left-hand side, jump up into the small tunnel, and slash the grate.
Route 1: hole in floor[edit | edit source]
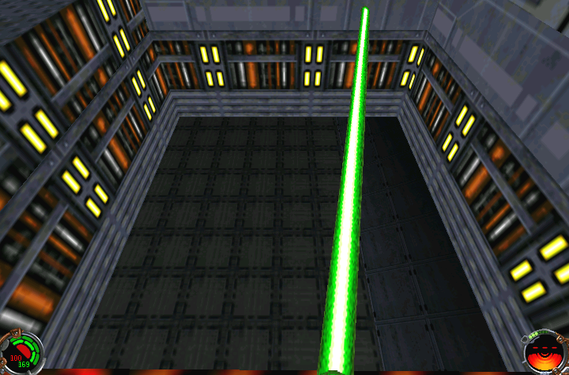
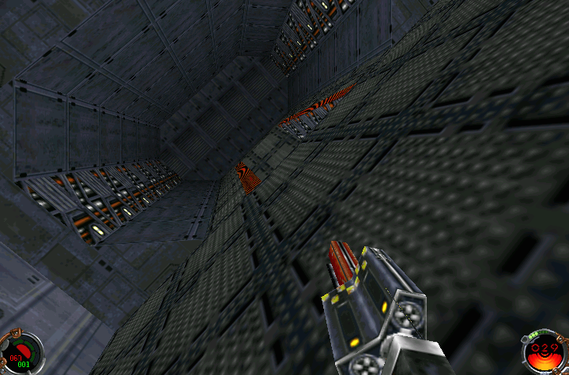
In the same room as the secret area, there are cutouts in the floor through which Kyle can fall. There are several flashing arrows on the walls that are either green, yellow, or red. As Kyle gets closer to the landing bay, the arrows will be red, but regardless of color, they all point in the direction Kyle needs to go.
Route 2: through secret area[edit | edit source]
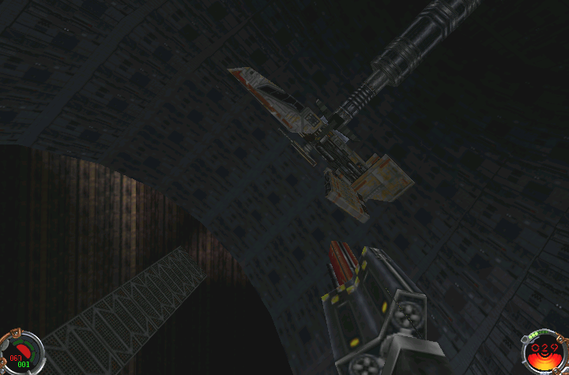
There is another grate at the opposite end of the secret area that leads to very wide-open parts of the ship and long falls. This route deals the most damage of the three but is the fastest and if followed correctly, it guarantees Kyle will end up in front of the door that leads to the landing bay controls.
Route 3: control room[edit | edit source]
If the player is playing on hard difficulty, this route will allow you to buy an extra minute for your run. The path leads to the control room that contains the port and starboard engine controls, which grants an extra minute of time.
Universal route[edit | edit source]
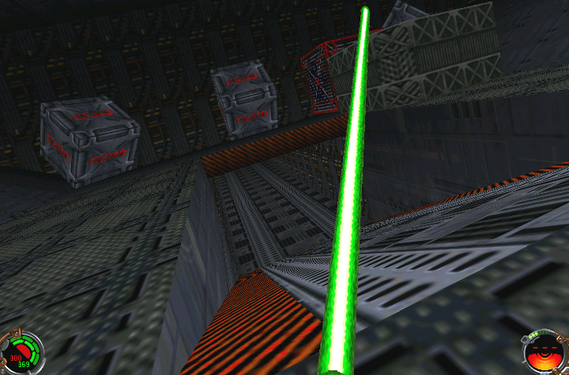
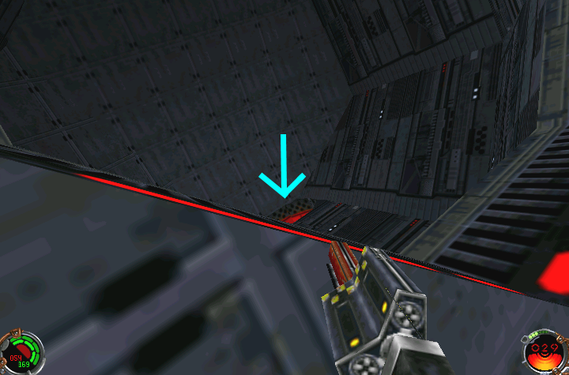
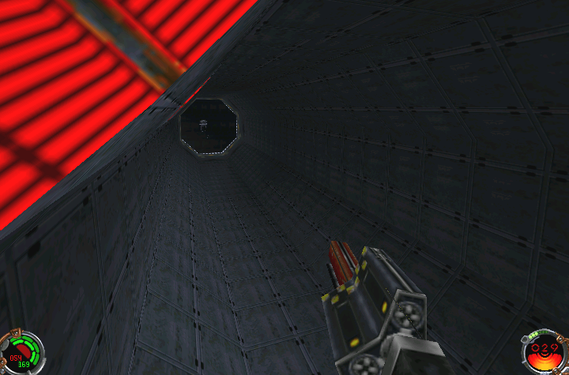
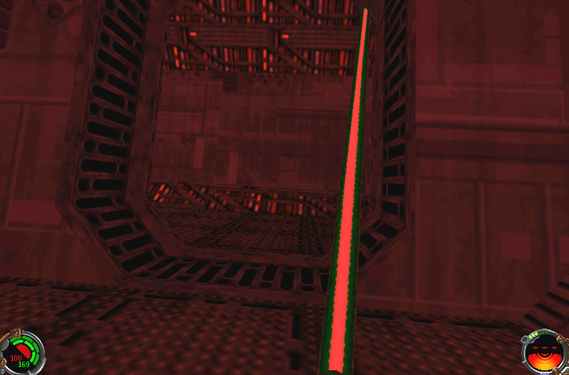
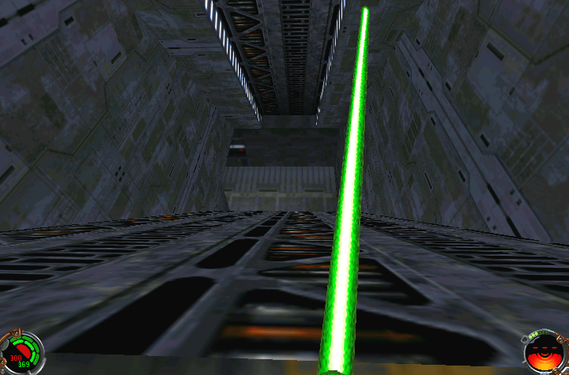
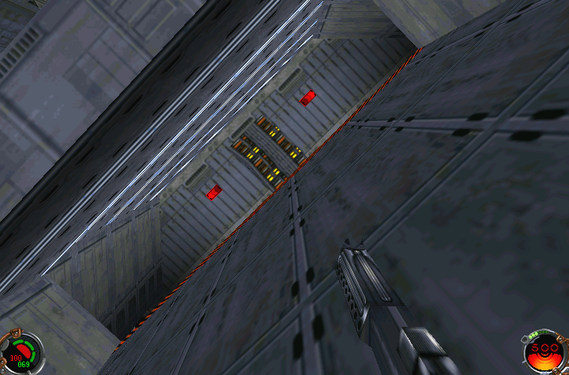
At a point near the end of the level, the three routes will all converge. The universal route consists of the two paths (left or right) that Kyle can take to access the landing bay controls and the catwalk to the captured ship. At this point in the level, GO RIGHT FIRST. This will ensure that the player will first lower the captured ship and unlock the landing trail and not have to backtrack later. Route #2 will dump Kyle in front of the door that can be found along the right-hand path, which puts you further along the path.
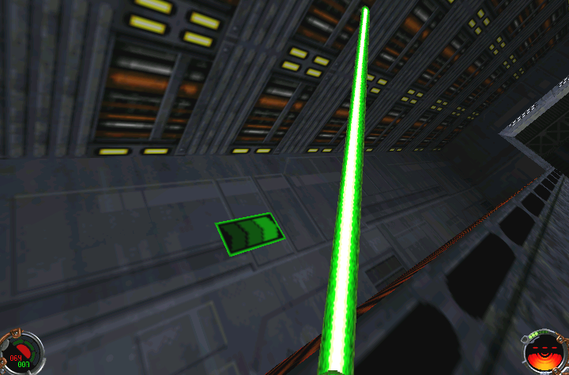
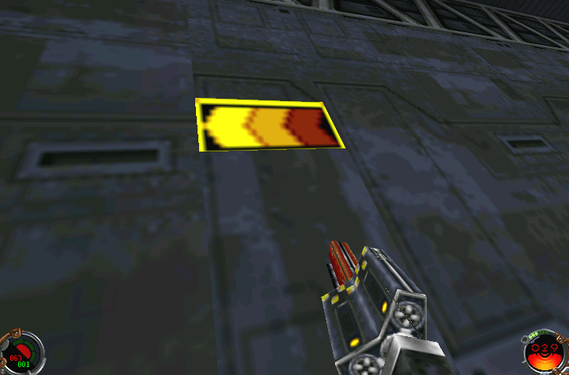
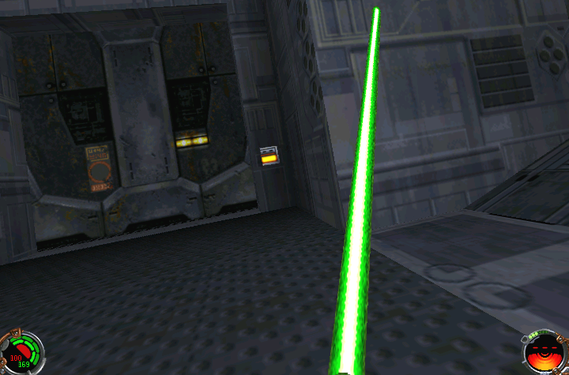
There is an easily overlooked button that will buy you extra time in the room with the landing bay switch; on the wall directly opposite of the switch, you'll see a neon rectangle (a switch or touchscreen of some sort). This can be seen on the left of the fourth photo below.
Hitting it on your way out of the room will give you an extra 30 seconds, and this will be mandatory if you are on hard and skipped the control room.

