The Cave of Trials is a Bonus Dungeon only available on the GBA and PSP versions of Final Fantasy IV. Its purpose is to present the player with "legendary" gear for the five missing party members, on par with what you would find in the Lunar Subterrane for the main five.
Mysidia[edit]
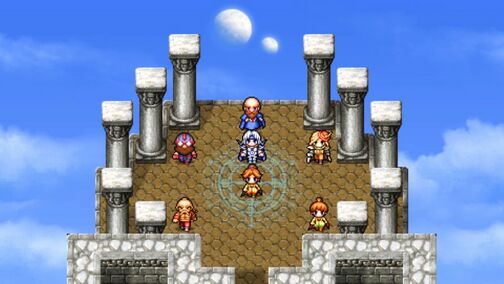
Once you arrive, head straight towards the Hall of Prayer, and then into the Crystal Chamber, and then into the Prayer Dais. You will see your old party members here, and will be able to switch with them by simply talking.
The five bosses in the Cave of Trials can only be fought if their party member is present. You should make two trips to clear everything out, using the following two parties:
- Rydia, Cecil, Palom, Cid, Porom
- Rydia, Cecil, Rosa, Yang, Edward
You may wish to upgrade their gear before continuing to their trials. The best places for this are Tomra and the Feymarch.
Mount Ordeals[edit]
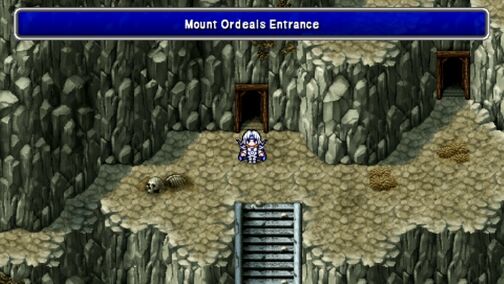
As soon as you enter Mount Ordeals, lightning will strike, and a path to the west of you will open up. Head through the door to enter the Cave of Trials.
Cave of Trials[edit]
| Enemies Cave of Trials | ||||||||
|---|---|---|---|---|---|---|---|---|
| Number | Name | HP | Weakness | Resist | Absorb | Gil | Exp | Notes |
| #113 | Evil Dreamer | 2800 | - | - | Fire | 362 | 3141 | Cycles between Fira and Sleep; Easily Silenced |
| #114 | Elder Treant | 3900 | Fire | - | - | 525 | 5041 | Casts Berserk on allies; Easily Silenced |
| #115 | Malboro | 4200 | - | - | - | 650 | 5641 | Immunity to any status counters Bad Breath; Drops Soma Drop |
| #116 | Belphegor | 2200 | Holy, Thrown | - | - | 484 | 4088 | - |
| #118 | Fell Knight | 2900 | - | - | - | 575 | 4288 | - |
| #119 | Mini Satana | 3480 | - | - | - | 650 | 6388 | - |
| #120 | Summoner | 3600 | - | - | - | 475 | 3688 | Drops Summon Book |
| #121 | Arachne | 3650 | Ice, Thrown | - | - | 585 | 4388 | Uses Earthquake, avoid with Float |
| #122 | Thunder Dragon | 7600 | Thrown | - | Lightning | 900 | 7777 | Drops Golden Apple |
| #123 | Vampire Bat | 1014 | Fire, Thrown | - | - | 355 | 2306 | - |
| #125 | Nagaraja | 1480 | - | - | - | 238 | 3582 | - |
| #126 | Vampiress | 2375 | Fire, Holy | - | - | 188 | 3582 | - |
| #127 | Yellow Dragon | 3100 | - | - | Lightning | 1500 | 28000 | Counters with Lightning; Vulnerable to Tornado; Drops Silver Apple |
| #128 | Chimera Brain | 3400 | - | - | Fire, Ice, Lightning | 1200 | 28000 | |
| #145 | Great Malboro | 12180 | - | Magic | - | 20000 | 22000 | Immunity to any status counters Bad Breath; Drops Soma Drop |
| #146 | Golden Toad | 7777 | - | Physical, Magic | Fire, Lightning, Ice, Dark, Holy | 65000 | 65000 | Drops Golden Apple |
There is no particular order you need to complete the trials in, and there's no completion reward, but if you wish to fill the Bestiary, you need to complete them all.
Particularly of note is the Golden Toad enemy here. You can easily summon one by using a Siren on B5-B7, or encounter them as a regular enemy. They're strongly resistant to phyiscal, absorbs or resist most magic, and run away after a couple turns. To defeat one, have Palom cast Stop, or have Palom or Edge use any Hourglass, because they are the only ones fast enough to do it, and then have Rydia summon Bahamut twice. They will give you 65000 Exp and 65000 Gil, so this is a very good way to farm up money for healing items.
As soon as you enter, the northern doorway will open up, so head down to B1.
| Cave of Trials Checklist: |
|---|
|
B1[edit]
Start by group-casting Float on your whole party, as a safeguard against the Arachne's in the area, and re-cast it every floor.
Open the chest to the north for an X-Potion, take two steps south, and then head east into the wall. Head all the way, and then head north to enter a room containing a Red Jacket for Edward. Head back to the start, then go west to come to a fork. The south fork is a dead-end, so head north and follow the path to B2.
B2[edit]
Head west from the starting fork, and open the chest for a Remedy. Head back, and take the north fork up the stairs this time. Loop west down another set of stairs, and continue west, ignoring the first set you see heading north, as they lead to another dead-end. Go down the stairs, and head south to a fork. Climb up two sets of stairs, and open the chest for a Phoenix Down. Head down one set of stairs, and go to the southwest corner. Enter the hole in the wall, then head north through the path to find a Hypnocrown for Palom. Head back to the fork, and descend to B3.
B3[edit]
Ignore the chest to the west, and head south until you hit the wall. There is a secret path to east, heading south to a chest with a Cat-Ear Hood for Porom. Backtrack to the entrance, this time taking the west path around. Follow the path west, and north up the stairs to find a chest with Remedy. Hug the wall north of this chest and head east to reach the chest from the start, which has a White Tiger Mask for Yang. Head back through the path, and head west and south for another set of stairs heading down to B4.
B4[edit]
The south path at the fork leads to a dead-end, so head east down the stairs, and go all the way south to hit a corner. From here, head east through a secret path to get a Red Cap for Edward. Head back through the wall and go east for a Cottage. Backtrack to the stairs, then head east to another fork. Go south, east, and north to get a Siren, then head back to the fork and head north. Just before going to B5, head east through the path for a Brave Suit for Yang.
B5[edit]
From the fork, head west along the south wall to find a Siren, then head back and take the north stairs. Head west, opening the chest for a Remedy, and keep following the path as it winds up and around. When you see the exit, head west, then go north at the fork and west through the upper corner to reach a chest with the Robe of Lords for Porom. Go back to the fork, and this time head south, taking a secret path just below the stairs for the Sage's Robe for Palom. Head back to the exit and go to B6.
B6[edit]
Head all the way east and up the stairs, then loop around west and all the way north to the north-west corner. From here, head west into the wall to reach a Grand Helm for Cid. Head south slightly and continue east to also get a Grand Armor for Cid. Head all the way back to the start of the hidden path, and then head south down the eastern stairs. Make your way east, heading south at the fork for a Dry Ether, and exit north to B7.
B7[edit]
Head north, taking the two side staircases for two chests with a Megalixir in both. Go back to the center of the room, and take the middle path up three sets of stairs to reach B8.
B8[edit]
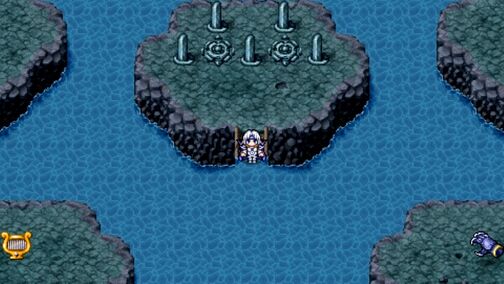
Head to the center of the room to see two circles. The left circle is a save point, and the right circle warps you out of the dungeon. Use a cottage after every boss fight, and prepare yourself.
Head up onto the right platform and examine the hammer to start Cid's Trial.
Cid's Trial[edit]
| Number | Name | HP | Weakness | Resist | Absorb | Gil | Exp |
|---|---|---|---|---|---|---|---|
| #232 | Death Machine | 50000 | - | - | - | 0 | 32000 |
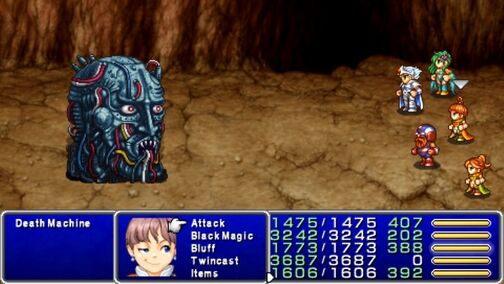
Start the fight with Porom casting Berserk or Haste on Cecil, and Haste on everyone else, having her heal when needed. Palom and Rydia should barrage with Firaga, and Cid should be on life support with Phoenix Downs.
The Death Machine will almost surely kill at least one of your party members, but it is too slow to result in a total party kill.
Defeating it rewards you with the Thor's Hammer for Cid.
Heal, and head to the left platform, examining the dagger to start Palom's Trial.
Palom's Trial[edit]
| Number | Name | HP | Weakness | Resist | Absorb | Gil | Exp | |
|---|---|---|---|---|---|---|---|---|
| #230 | Flan Master | 35000 | - | - | - | 0 | 32000 | |
| #088 | White Mousse | 298 | Ice | Physical | - | 384 | 1808 | |
| #135 | Black Flan | 1357 | - | Physical | - | 1300 | 3044 | - |
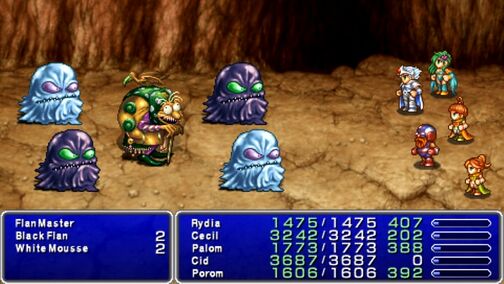
Start the fight with Porom casting Haste on Rydia and Palom, and then healing every round. Cid and Cecil should be attacking it every turn, while Rydia summons Bahamut and Palom casts Quake. The goal here is to group-kill the flans every time they regenerate.
Defeating it rewards you with the Triton's Dagger for Palom.
Heal, and head to the north platform. Before doing anything more, group-cast Float. Examine the staff to start Porom's Trial.
Porom's Trial[edit]
| Number | Name | HP | Weakness | Resist | Absorb | Gil | Exp |
|---|---|---|---|---|---|---|---|
| #231 | Tyrannosaurus | 60000 | - | - | - | 0 | 32000 |
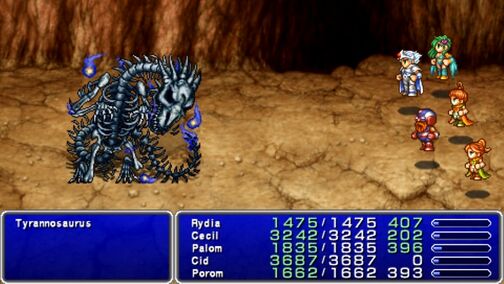
Start the fight with Porom casting Berserk on Cecil and Cid, and then healing every round. Do not use any of the three elemental spells from Rydia and Palom, or else it will counter with a nasty party attack, instead have Rydia summon Bahamut and Palom cast Quake or Flare. Cid and Cecil should be attacking it every turn.
Defeating it rewards you with the Seraphim's Mace for Palom.
If you followed this walkthrough, you will now need to head to the warp circle and return to Mysidia to swap out to the second party setup.
Yang's Trial[edit]
| Number | Name | HP | Weakness | Resist | Absorb | Gil | Exp |
|---|---|---|---|---|---|---|---|
| #228 | Storm Dragon | 40000 | Ice | - | Fire | 0 | 32000 |
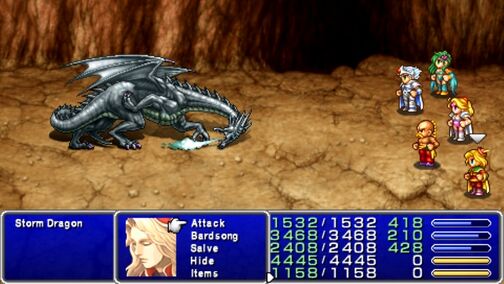
Have Rosa cast Curaja every round, regardless of whether you need it. Have Cecil and Yang attack normally, using Phoenix Downs when necessary, while Rydia uses Blizzaga. Have Edward on item duty.
Defeating it will reward you with the Godhand for Yang.
Edward's Trial[edit]
| Number | Name | HP | Weakness | Resist | Absorb | Gil | Exp |
|---|---|---|---|---|---|---|---|
| #229 | Gigas Worm | 55000 | - | - | - | 0 | 32000 |
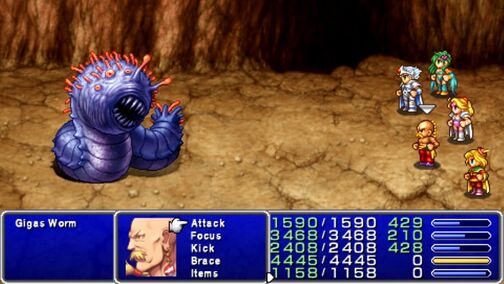
Have Rosa cast Berserk or Haste on Yang and Cecil, and then put her on healing. Have Cecil and Yang attack normally, while Rydia uses Bahamut, and Sylph if extra healing is needed. Have Edward on item duty. The boss uses pretty strong physical attacks, so if you dont feel safe, have Rosa use Protect on everyone as well.
If you are having trouble with this boss, have Rosa Blink Yang and Cecil instead of Berserk.
Defeating it will reward you with the Apollo's Harp for Edward.
