Mysidia[edit]
| Area Info: |
|---|
|
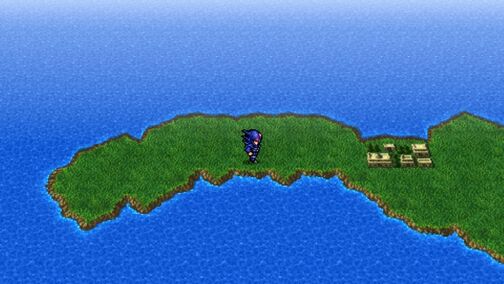
Cecil awakens all alone on an island, but fortunately there is a small town nearby. Enter the town to find that Cecil is no stranger here! This is Mysidia, after all, the town the Red Wings attacked at the beginning of the game.
As you can imagine, most of the villagers are quite upset to see Cecil. One of the Black Mages near the entrance goes so far as to turn him into a Toad on sight! (Just speak to him again to be un-Toaded). In the inn, a dancer's mesmerizing dance turns Cecil into a Pig. (Watch the dance again to return to normal). The bartender serves him a spiked drink, and you will need an Antidote to remove that effect. But don't worry, they'll still sell you weapons, armor, and items as usual, even though you could - as one of the villagers put it - use the weapons to butcher the people of Mysidia.
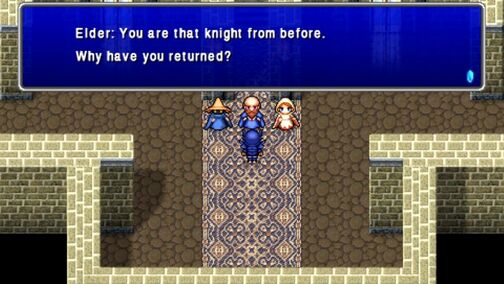
Enter the Hall of Prayers on the north part of town. The elder recognizes Cecil as well, and Cecil apologizes for his actions. The elder tells Cecil to go to Mount Ordeals and attune to the light to become a Paladin. He even sends the black mage Palom and white mage Porom to assist on Cecil's quest.
Before leaving town, you may wish to stop by the armor shop and buy better armor for Porom and Palom, and give them either Crossbows and Holy Arrows, or a Healing Staff and Flame Rod. If you have the Gil to burn, you should pick up a second Healing Staff, Flame Rod, a third Wizard's Hat and Silver Armlet, for the next new party member, and a set of Paladin armor for Cecil to use later: Lustrous Helm, Lustrous Shield, Gauntlets, and Knight's Armor.
Take this time to stock up on any healing items you might need, but especially Echo Herbs and Antidote. If you used your Emergency Exit in the Antlion's Den pick up a couple here in case of an emergency. Leave town when your preparations are complete.
| Armor shop | |
|---|---|
| Armor | Cost |
| Wizard's Hat | 700 |
| Silver Armlet | 650 |
| Gaia Gear | 500 |
| Lustrous Shield | 700 |
| Lustrous Helm | 4000 |
| Knight's Armor | 8000 |
| Gauntlets | 3000 |
| Weapon shop | |
|---|---|
| Weapon | Cost |
| Ice Rod | 220 |
| Flame Rod | 380 |
| Healing Staff | 480 |
| Power Bow | 700 |
| Holy Arrows | 20 |
| Item shop | |||
|---|---|---|---|
| Item | Cost | ||
| Potion | 30 | ||
| Hi-Potion | 150 | ||
| Phoenix Down | 150 | ||
| Tent | 200 | ||
Mount Ordeals[edit]
| Area Info: | |
|---|---|
|
|
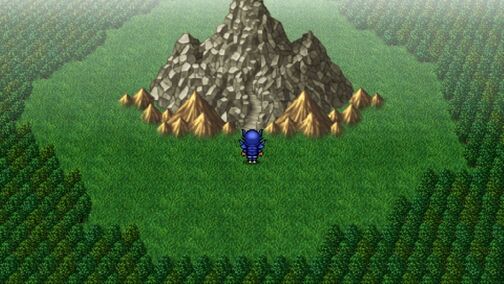
Head east from Mysidia, following the eastern coast as it winds around to the north. There will be a circle of forest around a cluster of mountains, which is your destination: Mount Ordeals.
Inside Mount Ordeals, a wall of fire blocks your path. Palom uses his powerful ice magic to destroy the wall, allowing you to continue. Meanwhile, we see Rosa all tied up, and hear some of Golbez' nefarious plans, namely, that he is sending the archfiend Scarmiglione to deal with Cecil.
Follow the path around to the east, past the staircase, and open the chest for Potion. Go up the staircase and head east again for another Potion. Take the stairs to the west, then go through the door to the next area.
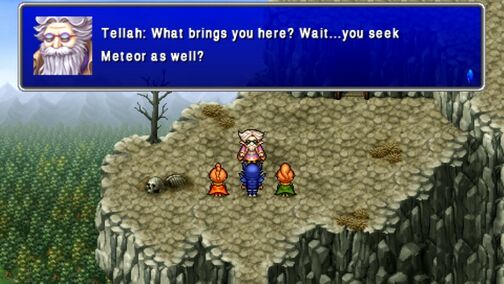
The next area is fairly linear - simply head to the north. Just before you reach the door to the next area, a familiar face appears: Tellah! Cecil breaks the news to Tellah that Edward and Rydia died in Leviathan's attack, and that Golbez took Rosa. Tellah reveals that he is here to learn the powerful Meteor spell. After the chat, Tellah rejoins the party. Be sure to check his equipment, and equip anything that might be good for him.
In the next area, head west past the ramp up, until you see a set of stairs. At the top of the stairs is a chest with Ether. Return to the ramp, then go east and up two sets of stairs. Cross the bridge, then go south for a chest with Ether. Head north and through the door to the next area.
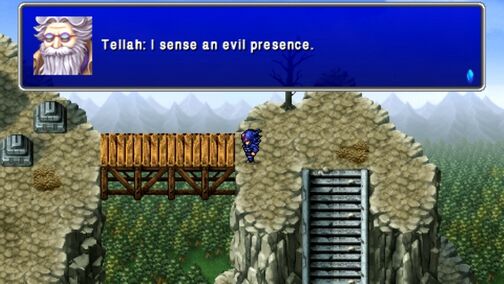
In the next area, the party hears a strange noise, which Porom dismisses as Palom messing around. Head north, cross the bridge to the east, and rest up at the save point. Then, cross back over the bridge and continue north. Porom hears the noise again, and Palom insists he's not doing it.
When you go to cross the bridge at the top of the stairs, the maker of the noise reveals itself: the archfiend, Scarmiglione!
Boss: Scarmiglione (Milon Z.)[edit]
| Boss Info: | |
|---|---|
|
|
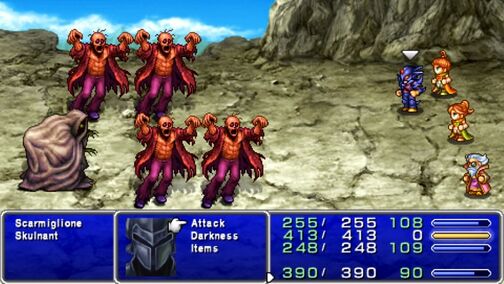
Scarmiglione brought a few Undead friends, so use Fire/Fira, Fire Rods, Cure/Cura, or Holy Arrows to take them out first. Just note that Scarmiglione does not take damage from healing items or spells like his cohorts. Cecil should attack Scarmiglione, since his physical attacks are not very effective against the other enemies. Be prepared to heal through Scarmiglione's Thunder counter after Cecil attacks.
After you defeat Scarmiglione, backtrack to the save point to heal and save, just to be safe. You should also re-order your party so that tankier units such as Cecil and Tellah are in the back row, and weaker units such as Porom and Palom are in the front row.
Sure enough, when you try to cross the bridge again, Scarmiglione, empowered in death, attacks again!
| Boss Info: | |
|---|---|
| |
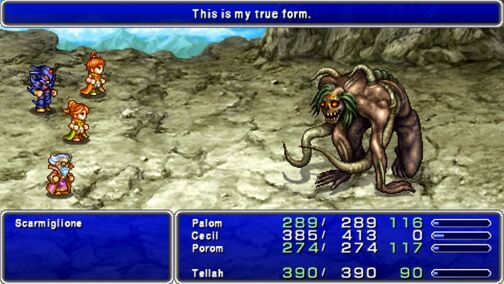
Scarmiglione is back, this time with exactly 23 more HP, and a new moveset. The battle is also a back attack, meaning the row formations are reversed. Fortunately, Scarmiglione did not bring any cohorts to this fight. His physical attacks will rarely cause Blind, Curse, or Poison, occasionally he will use Poison Gas, poisoning the whole party, and he will counter any fire-elemental spell by casting Slow on the whole party, all of which Tellah can cure with Esuna. However, it may be easier to simply heal the party as needed, and focus down the boss. The biggest threat is his access to Silence, which he very rarely uses.
The strategy is more or less the same from the first fight: have Cecil attack with his sword, and have the others use Fire/Fira, Fire Rods, Cure/Cura, or Holy Arrows. Taking the time to have Porom and Palom use Twincast is quite effective; just have Tellah heal them so an untimely death doesn't cancel the spell.
After you have dealt with Scarmiglione for what will almost certainly be the last time, continue across the bridge and walk up to the tombstones. The party enters a room in the tombstone, and Cecil obtains a shining sword of light, which turns him into a Paladin. However, his Dark Knight self attacks!
Boss: Dark Knight Cecil[edit]
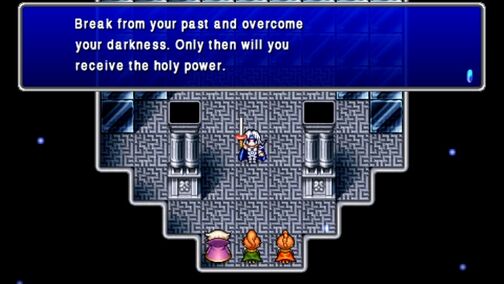
You may be tempted to attack with the shiny new sword, cast Cure, or try out the new Cover ability that Cecil gained, but resist the temptation for now. Do absolutely nothing in this battle, except sit on the action selection menu, taking the hits from Cecil's Dark Knight self. Eventually, your enemy stops attacking.
After the battle, Cecil becomes a proper Paladin, as evidenced by the fanfare. Tellah also realizes that he now remembers all of the spells that he had forgotten. On top of that, Tellah also learns Meteor. Palom tries to tell Cecil something, but Tellah's excitement and desire to avenge Anna cuts her off.
Head back down the mountain, saving and resting up at the save point if needed. If you picked up the Paladin armor for Cecil before heading to Mount Ordeals, be sure to equip it now. Once back on the overworld, make your way back to Mysidia to report Cecil's success to the Elder.
The Devil's Road[edit]
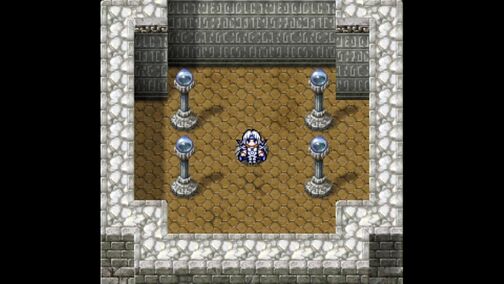
Return to Mysidia, and speak with the Elder in the Hall of Prayers. The Elder recognizes the sword that Cecil obtained on the mountain, and tells him the legend of the sword. Palom and Porom reveal that they had been spying on Cecil, but that with his transformation into a Paladin, he has redeemed himself. The Elder opens the entrance to the Devil's Road, so that the party can make their way to Baron. The twins decide to tag along on Cecil and Tellah's quest for revenge.
If you didn't pick up Paladin armor for Cecil, make sure you do that now, since he cannot wear any of his old Dark Knight gear anymore. There are a few items that Tellah would benefit from wearing as well.
Now that Cecil is a Paladin, some of the villagers react differently. Some recognize his brilliant light, and forgive him of his actions as a Dark Knight. Others still cannot forget so easily. However, Cecil no longer gets turned into a toad by the villager outside, or poisoned at the bar. The dancer still turns Cecil into a pig, though.
After your preparations are complete, go to the northeast part of town and enter the building - the entrance to the Devil's Road. The party follows the path all the way to Baron.
