(Created page with "==Level Thirteen: The Lost Planet of the Jedi== center|frame ''The Imperials have already established an outpost to the en...") |
Onderduiker (talk | contribs) m (Used {{SWJKDF2/Mission}} and shortened section titles) |
||
| (8 intermediate revisions by 6 users not shown) | |||
| Line 1: | Line 1: | ||
= | {{Header Nav|game=Star Wars Jedi Knight: Dark Forces II}} | ||
{{SWJKDF2/Mission|13 the lost planet of the jedi|13 - The Lost Planet of the Jedi | |||
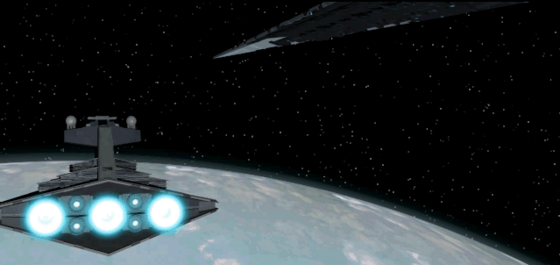
| The Imperials have already established an outpost to defend the entrance to the Valley. Use the intricate canyons and river ways to disarm their fortifications and find a way inside. | |||
| | |||
* Locate the first bunker that guards the magnetic field. | |||
* Find and destroy all of the circuits powering the first magnetic shield. | |||
* Sneak past the second magnetic shield and find main cargo lift to the base of the Valley Tower. | |||
| 7}} | |||
==First magnetic shield== | |||
[[File:SWJKDF2_level 13_1.png|right|300px]] | [[File:SWJKDF2_level 13_1.png|right|300px]] | ||
Locate the river and run along the banks to the first bunker (at the end of the river); watch for land mines. | Locate the river and run along the banks to the first bunker (at the end of the river); watch for land mines. | ||
'''Secret Area 1/7:''' There is a natural bridge not far from the starting point of the river that is hollowed out. Jump up inside (landing on the small shelf isn’t necessary to trigger its discovery). | '''Secret Area 1/7:''' There is a natural bridge not far from the starting point of the river that is hollowed out. Jump up inside (landing on the small shelf isn’t necessary to trigger its discovery). | ||
[[File:SWJKDF2_level 13_3.png|right|300px]] | [[File:SWJKDF2_level 13_3.png|right|300px]] | ||
The magnetic shield guarding the bunker is powered by four circuits that need to be cut in order for it to be disabled; they can only be destroyed with the lightsaber. The order in which they are destroyed doesn’t matter, and the locations are as follows: | |||
[[File:SWJKDF2_level 13_2.png|right| | [[File:SWJKDF2_level 13_2.png|right|thumb|One of the power circuits to be destroyed.]] | ||
Circuit #1: Look in the small room near the magnetic shield, guarded by two Stormtroopers. | Circuit #1: Look in the small room near the magnetic shield, guarded by two Stormtroopers. | ||
| Line 38: | Line 31: | ||
Circuit #4: On the other side of the metal bridge is a slope leading up into an area with some storage crates. At the top of the slope and off to the left, there is a door with a grate above it; destroy the grate and drop down inside the building. Continue across the bridge, ride the lift, and turn around. | Circuit #4: On the other side of the metal bridge is a slope leading up into an area with some storage crates. At the top of the slope and off to the left, there is a door with a grate above it; destroy the grate and drop down inside the building. Continue across the bridge, ride the lift, and turn around. | ||
'''Secret Area 2/7:''' There is an alcove behind the turret on the left-hand side. | '''Secret Area 2/7:''' There is an alcove behind the turret on the left-hand side. | ||
'''Secret Area 3/7:''' In the building containing | '''Secret Area 3/7:''' In the building containing Circuit #4 is an area to the right of the lift (lower floor). The secret area is under one of the fuel drums. | ||
Upon destroying the fourth circuit, the magnetic shield will disable. | Upon destroying the fourth circuit, the magnetic shield will disable. | ||
{{-}} | |||
==First bunker== | |||
== | |||
Make your way back to the now-deactivated magnetic shield and pass through it. | |||
{{-}} | |||
==Second magnetic shield== | |||
== | |||
Force Jump from the water into the small doorway high above, then continue to the end of the path and carefully drop down to a safe area below. | Force Jump from the water into the small doorway high above, then continue to the end of the path and carefully drop down to a safe area below. | ||
'''Secret Area 4/7:''' There is a slope to the left of the deep pit with an alcove in the left-hand wall. Force Speed is needed to access it. | '''Secret Area 4/7:''' There is a slope to the left of the deep pit with an alcove in the left-hand wall. Force Speed is needed to access it. | ||
Circumvent the pit and continue ahead to the river. | Circumvent the pit and continue ahead to the river. | ||
'''Secret Area 5/7:''' Jump in the river and swim against the current to the waterfall. Go underwater and locate the tunnel in the left-hand bank. | '''Secret Area 5/7:''' Jump in the river and swim against the current to the waterfall. Go underwater and locate the tunnel in the left-hand bank. | ||
| Line 73: | Line 59: | ||
The best way to infiltrate the second magnetic shield while remaining undetected is to swim almost to the end of the river and swim through the small opening underwater. This leads to a lake with an upward-sloping bank. | The best way to infiltrate the second magnetic shield while remaining undetected is to swim almost to the end of the river and swim through the small opening underwater. This leads to a lake with an upward-sloping bank. | ||
'''Secret Area: 6/7:''' There is a large alcove in the far wall, beneath the sloped path. | '''Secret Area: 6/7:''' There is a large alcove in the far wall, beneath the sloped path. | ||
At the top of the sloped path is a small cargo area. Around the right-hand wall is an elevator; ride it down to the floor below. | At the top of the sloped path is a small cargo area. Around the right-hand wall is an elevator; ride it down to the floor below. | ||
'''Secret Area 7/7:''' There is a small cubbyhole at the top of the two crates directly across from the elevator. | '''Secret Area 7/7:''' There is a small cubbyhole at the top of the two crates directly across from the elevator. | ||
Send the elevator back up and get off, then destroy the grates beneath it and drop down into the tunnels. Slash the grate and continue through the tunnel and over the pipe, crossing the river. | Send the elevator back up and get off, then destroy the grates beneath it and drop down into the tunnels. Slash the grate and continue through the tunnel and over the pipe, crossing the river. | ||
| Line 90: | Line 72: | ||
Enter either tunnel and continue to the end. Slash the grate, jump up into the room, and locate the door switch in the control area next to the magnetic shield. Run through the large, slanted door and call the elevator. In the room above, locate the switch and board the cargo lift to end the level. | Enter either tunnel and continue to the end. Slash the grate, jump up into the room, and locate the door switch in the control area next to the magnetic shield. Run through the large, slanted door and call the elevator. In the room above, locate the switch and board the cargo lift to end the level. | ||
{{Footer Nav|game=Star Wars Jedi Knight: Dark Forces II|prevpage=Escape with the Map|nextpage=Maw - The Revenge}} | |||
{{Footer Nav|game=Star Wars Jedi Knight: Dark Forces II|prevpage= | |||
Latest revision as of 23:54, 8 February 2024
| Objectives |
|---|
|
| Secrets: 7 |
First magnetic shield[edit]
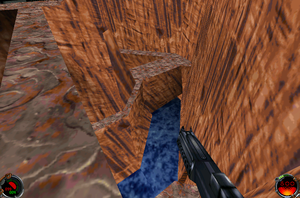
Locate the river and run along the banks to the first bunker (at the end of the river); watch for land mines.
Secret Area 1/7: There is a natural bridge not far from the starting point of the river that is hollowed out. Jump up inside (landing on the small shelf isn’t necessary to trigger its discovery).
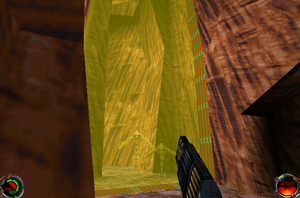
The magnetic shield guarding the bunker is powered by four circuits that need to be cut in order for it to be disabled; they can only be destroyed with the lightsaber. The order in which they are destroyed doesn’t matter, and the locations are as follows:

Circuit #1: Look in the small room near the magnetic shield, guarded by two Stormtroopers.
Circuit #2: Directly across from the small room is a slope. Run up and cross the metal bridge, then enter the room to the right.
Circuit #3: Hit the switch to go through the door, then head all the way up the slope and continue straight ahead.
Circuit #4: On the other side of the metal bridge is a slope leading up into an area with some storage crates. At the top of the slope and off to the left, there is a door with a grate above it; destroy the grate and drop down inside the building. Continue across the bridge, ride the lift, and turn around.
Secret Area 2/7: There is an alcove behind the turret on the left-hand side.
Secret Area 3/7: In the building containing Circuit #4 is an area to the right of the lift (lower floor). The secret area is under one of the fuel drums.
Upon destroying the fourth circuit, the magnetic shield will disable.
First bunker[edit]
Make your way back to the now-deactivated magnetic shield and pass through it.
Second magnetic shield[edit]
Force Jump from the water into the small doorway high above, then continue to the end of the path and carefully drop down to a safe area below.
Secret Area 4/7: There is a slope to the left of the deep pit with an alcove in the left-hand wall. Force Speed is needed to access it.
Circumvent the pit and continue ahead to the river.
Secret Area 5/7: Jump in the river and swim against the current to the waterfall. Go underwater and locate the tunnel in the left-hand bank.
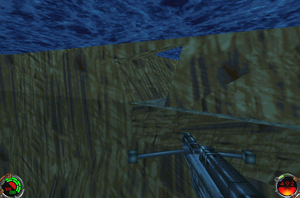
The best way to infiltrate the second magnetic shield while remaining undetected is to swim almost to the end of the river and swim through the small opening underwater. This leads to a lake with an upward-sloping bank.
Secret Area: 6/7: There is a large alcove in the far wall, beneath the sloped path.
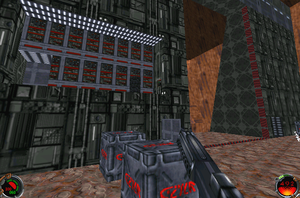
At the top of the sloped path is a small cargo area. Around the right-hand wall is an elevator; ride it down to the floor below.
Secret Area 7/7: There is a small cubbyhole at the top of the two crates directly across from the elevator.
Send the elevator back up and get off, then destroy the grates beneath it and drop down into the tunnels. Slash the grate and continue through the tunnel and over the pipe, crossing the river.
Enter either tunnel and continue to the end. Slash the grate, jump up into the room, and locate the door switch in the control area next to the magnetic shield. Run through the large, slanted door and call the elevator. In the room above, locate the switch and board the cargo lift to end the level.
