The enemies here are lined up nicely for you to slaughter with your AOE attacks. They should not be a problem. Better still, they are standing on Exp+100% Geo Panels.
The enemies here are lined up nicely for you to slaughter with your AOE attacks. They should not be a problem. Better still, they are standing on Exp+100% Geo Panels.
{{-}}
==Rising Fear==
==11-2: Rising Fear==
[[Image:Disgaea Episode 11-2.jpg|right|thumb]]
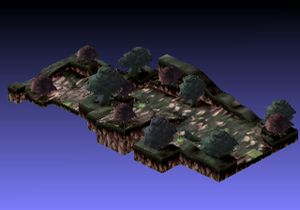
The trees in this map will obscure your view of the whole battlefield. Before you get started, take a look around and keep track of the enemies. Allowing the enemies to sneak up on you through the trees is a good way to lose this battle. The swordsman can be tough, but stealing his weapon reduces his power significantly.
The trees in this map will obscure your view of the whole battlefield. Before you get started, take a look around and keep track of the enemies. Allowing the enemies to sneak up on you through the trees is a good way to lose this battle. The swordsman can be tough, but stealing his weapon reduces his power significantly.
{{-}}
==Crawling Terror==
==11-3: Crawling Terror==
[[Image:Disgaea Episode 11-3.jpg|right|thumb]]
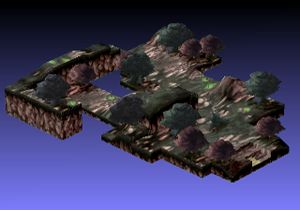
Throw as many characters as you can toward the geo symbols. Destroy them and then destroy your enemies.
Throw as many characters as you can toward the geo symbols. Destroy them and then destroy your enemies.
{{-}}
==Hero's Tomb==
==11-4: Hero's Tomb==
[[Image:Disgaea Episode 11-4.jpg|right|thumb]]
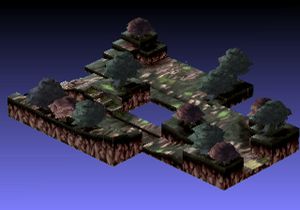
The stage is affected by Enemy Boost x6. Luckily, there is an enemy in a straight line from the geo symbols who you can throw to destroy them quickly.
The stage is affected by Enemy Boost x6. Luckily, there is an enemy in a straight line from the geo symbols who you can throw to destroy them quickly.
{{Footer Nav|game=Disgaea: Hour of Darkness|prevpage=Episode X: Angels, Demons, and Humans|nextpage=Episode XII: War of the Netherworld, Part 1}}
{{Footer Nav|game=Disgaea: Hour of Darkness|prevpage=Episode X: Angels, Demons, and Humans|nextpage=Episode XII: War of the Netherworld, Part 1}}
The enemies here are lined up nicely for you to slaughter with your AOE attacks. They should not be a problem. Better still, they are standing on Exp+100% Geo Panels.
11-2: Rising Fear
The trees in this map will obscure your view of the whole battlefield. Before you get started, take a look around and keep track of the enemies. Allowing the enemies to sneak up on you through the trees is a good way to lose this battle. The swordsman can be tough, but stealing his weapon reduces his power significantly.
11-3: Crawling Terror
Throw as many characters as you can toward the geo symbols. Destroy them and then destroy your enemies.
11-4: Hero's Tomb
The stage is affected by Enemy Boost x6. Luckily, there is an enemy in a straight line from the geo symbols who you can throw to destroy them quickly.