The printable version is no longer supported and may have rendering errors. Please update your browser bookmarks and please use the default browser print function instead.
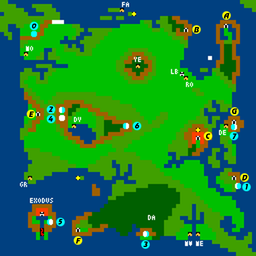
The Dungeon of Doom is located beyond the Great Forest, straight West of Montor. It conceals the Mark of Force, that can also be found in the Dungeon of Fire, but Dungeon Doom is easier to navigate.
This dungeon was nameless in the original ports; the misty writings near the entrance read: "Welcome, fool, to your doom!". Therefore, the Japanese Ponycanyon ports (NES, etc.) called it "Cave of Fool", while external material in the USA called it "Dungeon Doom".
Maps
Legend:
G = Gremlin (steals food)
T = Trap
W = Strange wind (blows out torches)
X
= False wall
Floor
Map
Notes
Floor 1
Sign 1: "Welcome, fools, to your doom!!" NES port: "Cave of Fool"
C = Cure poison fountain
Floor 2
Sign 2: "Secret corners!"
Floor 3
Sign 3: "Traps & Treasure"
Floor 4
Sign 4: "Beware the Winds"
Floor 5
Sign 5: "Danger!"
C = Cure poison fountain H = Healing fountain
Floor 6
Sign 6: "Map well!!!"
D = Damage fountain
Floor 7
Sign 7: "Reach up!"
Floor 8
Sign 8: "Windy secret" f = Mark of Force
C = Cure poison fountain H = Healing fountain D = Damage fountain P = Poison fountain