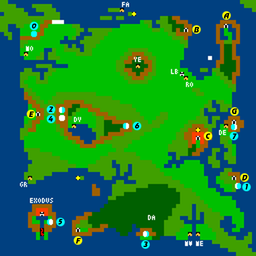
The Dungeon of Doom is located on a peninsula in the South-West of Sosaria, straight West of Montor. It conceals the Mark of Force, that can also be found in other dungeons (e.g. the necessary Dungeon of Time), therefore the game can be cleared without entering this dungeon.
Dungeon Doom was renamed "Cave of Fool" in the NES version.
Maps
Legend:
G = Gremlin (steals food)
T = Trap
W = Strange wind (blows out torches)
X
= False wall
Floor
Map
Notes
Floor 1
Sign 1: "Welcome Fools, to your doom!!"
C = Cure poison fountain
Floor 2
Sign 2: "Secret corners!"
Floor 3
Sign 3: "Traps & Treasure"
Floor 4
Sign 4: "Beware the Winds"
Floor 5
Sign 5: "Danger!"
C = Cure poison fountain H = Healing fountain
Floor 6
Sign 6: "Map well!!!"
D = Damage fountain
Floor 7
Sign 7: "Reach up!"
Floor 8
Sign 8: "Windy secret" f = Mark of Force
C = Cure poison fountain H = Healing fountain D = Damage fountain P = Poison fountain