Beyond the Ruins (2300 A.D. first time)
Thrown from the Gate, you'll appear within a bleak, mechanical room. This is Bangor Dome, which doesn't have much besides a sealed door in the North. Exit and head south, then enter Trann Dome.
Trann Dome[edit]
At Trann Dome, buy a new weapon for Lucca, 3x Iron Suit and 3x Iron Helm (it will cost about all of your money, 5100G). Spend any remaining money on a couple of potions that you used during the Dragon Tank fight. Use the Enertron on the far left side of the room to heal yourself, then exit and head north into the ruins of Lab 16 to journey to the east.
Lab 16[edit]
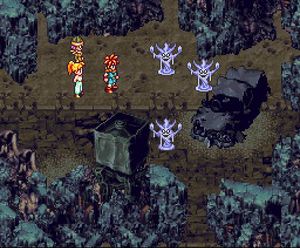
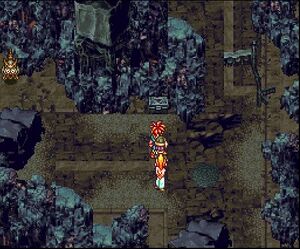
Try to avoid the rats, they steal Tonics and money. Head to the right to pick up the Berserker, an accessory. Make sure you grab the Lode Bow for Marle and the Lode Sword for Crono (if you don't have it yet) from the chests along the way. There will be some shadows in the next area who you'll need to kill with Lucca's fire attack. Additionally Crono's Slash technique works against them. Try to attack clumps of enemies with Fire Whirl if you can.
Once you've fought your way past some mutants and one chest with Ether, you'll reach another outdoor area where you'll find the Sewer Access, Lab 32, and Arris Dome. The sewers aren't strictly necessary until much later in the game (although the rewards within are very worthwhile at your level), and you can't go through Lab 32 until you complete a quest in the Arris Dome, so head to the Arris Dome.
Arris Dome[edit]
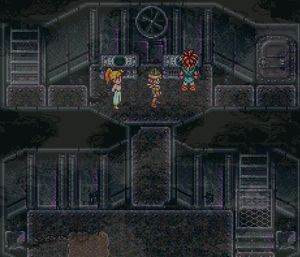
Talk to the people inside to learn a bit more about the state of things in the future. When you're ready, use the enertron and save, then head down the ladder. In this next room, head up the left ladder, follow the girders around in an S path. Examine the rat, it will tell you that you're about to fight a boss. Head north to the guardian room, and the alarm will sound. If you enter the menu screen in this room before approaching the door, you will be attacked by 4 robots upon leaving the menu. As you try to enter the northern door, the Guardian will ambush you.
A New Hope[edit]
 +
+ +
+ the code with the right panel to open the bridge to your right.
Enter through the north door, and you'll enter a refrigeration area where food was once stored. You'll get a Seed from the cutscene that ensues. Examine the corpse to learn a clue about the rat running around. You must catch the rat before you can put in the password that he gives you, which is: ![]() +
+![]() +
+![]() (if you're using an emulator, set L and R as the same key for this). The button code will not work unless the Guardian is dead. Use that combination to activate a bridge to the right side; enter the door.
(if you're using an emulator, set L and R as the same key for this). The button code will not work unless the Guardian is dead. Use that combination to activate a bridge to the right side; enter the door.
Fight or sneak your way through this next room to the north, obtaining a Mid-Ether on the way; head through the door to reach a data center. Here you'll learn that the nearest Gate is located in Proto Dome to the east of Arris. Afterwards, you'll watch a recording of The Day of Lavos, which explains why the future is so bleak. You'll make it your official quest to change the past and try to stop Lavos from destroying the world.
Head back to the top of the dome, you can activate another bridge (again using ![]() +
+![]() +
+![]() ) to a sealed door (to the right of the door containing the data center) if you want as well, but its not necessary at this point in the game.
) to a sealed door (to the right of the door containing the data center) if you want as well, but its not necessary at this point in the game.
Upon returning you'll give the seeds you found to Doan, the leader of the people living there, and emphasize putting effort into planting the seeds. In return, you'll receive the Bike Key, which you can use to cross the ruins in Lab 32 or race against Johnny on a jetbike.
Sewer Access[edit]
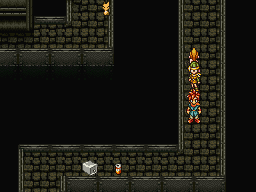
If you're below level 10 at this point, and you want to get a secret before it is unavailable to you, ignore the Sewers for the time being and head straight to Lab 32. Otherwise, it's recommended that you attempt to clear the Sewer Access to get extra experience and higher equipment. You can come back at a later time, but if you wait too long the rewards won't help. Also, doing so now compared to later will be more difficult and slower to get through. The difference between clearing it and not clearing it is really just a boost to the next few areas you go to.
Once you climb down a Guard will fly in and spot you and then fly away to tell Krawlie of you. Go right and fight 2 Edger and 1 Nereid for the chest with 600 G, then go left. After a fight with 2 Nereids 2 frogs will talk about a bridge that disappeared. Take note of that and go downstairs. Go left to find a Diary that tell you not to make noise otherwise monsters will show up. On the way to the other stairs don't touch the things that lies on the path, not even the fake Savepoint near the stairs.
Go left past 2 Edger into the narrow path right to a switch for the door to your right. Go back and go north around to the door you just saw. Just as you go through the door, the 2 frogs start talking about the switch which let the bridge appear, but they are too short to reach it. Continue your way to a chest with Rage Band inside. Go right to fight Krawlie.
After the fight go down left past the exit to a chest with Bolt Sword inside and turn on the switch to make a shortcut. Don't bother to exit yet since Death Peak cannot be entered and Keeper's Dome doesn't have anything of interest at the moment. Instead, head back to the entrance and out to Lab 32.
Lab 32[edit]
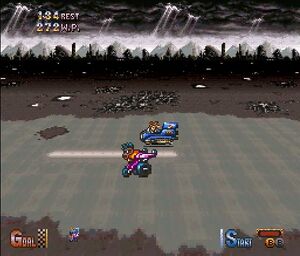
This is a very small area with just one chest containing a Mid Tonic and the Jet Bike at the end. As soon as you try to interact with the bike, its alarm will sound and you'll be attacked by four robots. Just as you're about to fight, Johnny intervenes and asks you to race him. During the dialogue he'll ask you if you know how to ride the bike; choose "No" if you want a small tutorial.
To beat Johnny in the race, you just need to be ahead of him at the end of the race, which should be easy with your three boosts. If you choose to walk the highway instead, you can find the Race Log which will enable you to record your bests speeds and compete for prizes. You increase your speed during the race by boosting or having johnny's bike bump you from behind. If you earn a score of 1'500 you'll get a Power Tab. If you lose the race you'll have the option to simply try again until you win.
For more information and detailed strategies, see Jetbike Race.
Proto Dome[edit]
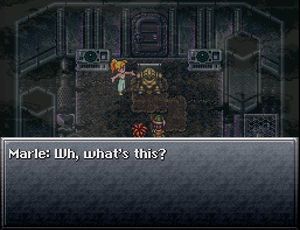
Once you pass through Lab 32 one way or another, head into Proto Dome, fight a few buggers, and meet Robo. He'll join your party and tell you he needs to go to the factory to turn on the power so you can reach a new time gate.

