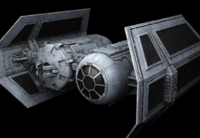
Star Wars: Squadrons/Terisa's Vengeance
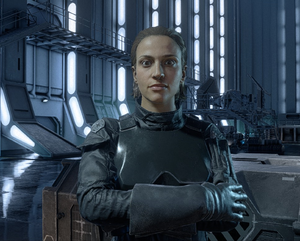
The only one to greet you in the hangar this time is Rella Sol, who proclaims you a hero and wonders what you'll do with your newfound prestige post-war. Head into the briefing room after talking to her.
Mission Briefing[edit]
Our diversion was a success. Vanguard Squadron has left the Nadiri Dockyards to aid Mon Cala, leaving the Starhawk completely exposed. We now have a clear shot to finish our mission. Admiral Sloane has sent reinforcements to help secure our victory. But you, Titan Squadron, will lead the strike against the Starhawk. If New Republic patrols and perimeter defences intercept you on approach, show them no mercy. Before we begin our baradium assault, you must bring down the dockyards' shields. We've discovered shield generators at these locations. Destroy them all, and the Overseer's bombardment will begin. After the shield generators are down, Titan 3 will return to the Overseer to acquire baradium-enhanced munitions. This is where we show our true strength. Immobilize the Starhawk with baradium. Do not stop until its hyperdrive is destroyed. I want that ship helpless when I deliver the killing blow. Let's make Admiral Sloane proud.
LT-514 will hope the odds are in your favour, and that he will give you the best support he can. He notes the tractor beam cannot be used in the battle, as it endangers the dockyards. Kerrill, meanwhile, will say that the baradium, the Overseer, and TIE fighters are only tools, and that what decides a battle is the will to conquer.
Grey and Sol will also ask what's next after the war. Grey suggests retiring to a quiet place by the water with his husband. Shen refuses to retire, saying he will stay - war or not. Sol will express disgust at the New Republic itself, and uphold the strike at the Starhawk as symbolic for a strike against the New Republic itself.
Start the mission when you're ready.
Mission Start[edit]
Begin by attacking the various missile batteries stationed on the asteroids. The missiles they launch are slow and are aimed at the Overseer, so simply destroy them with minimum effort. A burst of gunfire from a rotary cannon is enough to destroy them. They are also vulnerable to torpedo attacks, which can save you from having to travel all the way into gun range.
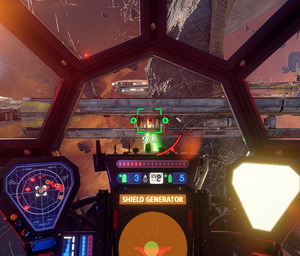
General Syndulla will scramble a flight of X-wings from the station to intercept you. Multi-missiles or the Goliath will make short work of these, as will your rotary cannon. Splash all the X-wings, and listen to Hera struggle to recall them in time.
You'll then be cleared to attack the dockyards' shield generators. Fly along the starboard side of the Starhawk at a distance to access the shield generators while dodging the Starhawk's gunfire as much as possible. Avoid flying close to the Starhawk - its guns are simply too numerous and powerful to approach safely. Proton torpedoes help a lot when targeting the shield generators from a distance.
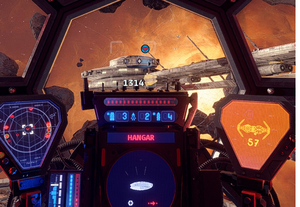
Also don't be afraid to disable the various gun turrets located in triplets around the station. Bombing and torpedo runs are much easier when you don't have to worry about being constantly damaged by surface fire. You also won't have access to the self-repair, so removing damage sources that don't get stuck on map geometry is a good idea as well.
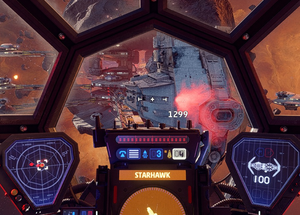
Also around this time you'll be alerted to several hangar bays along the dockyards that are scrambling fighters. Fly to and destroy each of these in turn to limit the number of New Republic fighters you have to deal with. Some gunfire, coupled with an attack from the composite beam cannon, or a single torpedo, should be enough to silence the hangars.

After bringing down the shields, Hera will launch two GR75 transports containing civilians working on the Starhawk, escorted by a trio of corvettes. Show the Republic that there is no mercy, especially for those who attempt to launch unarmed transports past a Star Destroyer - sink both transports before focusing on the corvettes. The rotary cannon and proton torpedoes will help in particular against these targets.
With all other targets dealt with, the you'll receive permission to return to the Overseer for baradium warheads. These specialized torpedoes deal massive damage to the Starhawk, and only a few are required to put it under. They also disable the Starhawk's weapons systems, which allow you to get plenty close and even dumbfire the torpedoes into the Starhawk.
Once the Starhawk's hyperdrive system is disabled, the mission is complete.
Medals[edit]
- Mission Complete: Complete Mission 10
- Efficiency Medal: Complete Mission 10 in 13 minutes or less
- Enduring Service Medal: Complete Mission 10 without dying
- Imperial March: Destroyed all of the Nadiri Dockyards' hangars.
- No Survivors: Destroyed all GR75 evacuees.
