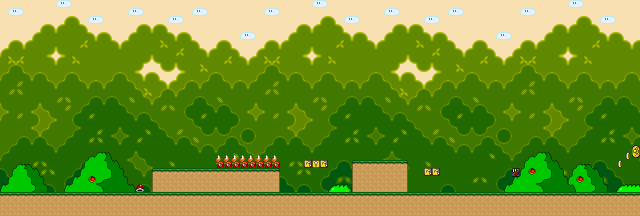
At the beginning, you'll see an empty shell lying on the ground. Grab it, jump onto the ledge and kick it forward into the group of marching Koopa Troopas. If the shell hits all of them, you'll get a 1-Up.
At the group of two ? blocks, jump at the right one to find Yoshi. Jump on him to continue the adventure together. Eat all the red berries in this level to get a free mushroom after the 10th one.
Yoshi can swallow colored Koopa shells for special effects. The red shell you can find here lets Yoshi spew fire that destroys all enemies on its way. Use this to easily plow your way through the level.
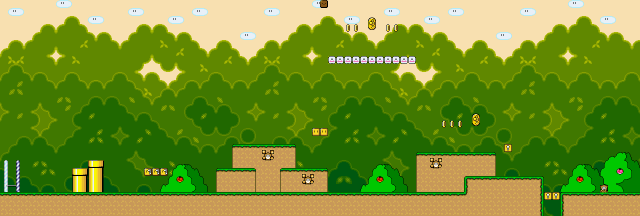
The middle out of the three ? blocks contains another Yoshi if you lost him earlier. If you do have him, you'll receive a 1-up mushroom instead.
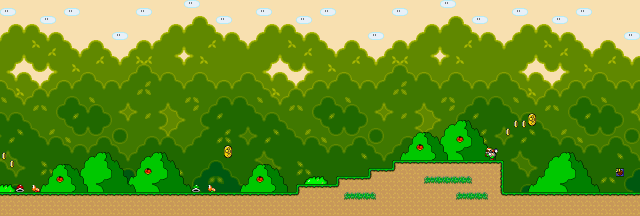
The Monty Moles can be eaten by Yoshi even while they're still burying out of the ground. There are two turn blocks near the second one, the right one contains a vine leading to a cloud platform. Except for a Dragon Coin, there isn't really anything worthwhile up there, though.
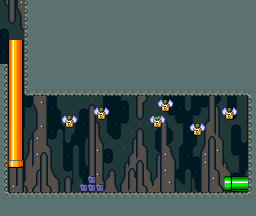
The first pipe here leads to the bonus area (pictured at the right). In there, there are multiple floating blocks up high. Most of them have coins, but one contains a 1-up mushroom. You can reach the blocks by jumping while you are running which is a bit tricky, instead you can use the blue blocks on the ground and kick them up against the floating blocks. If you have Yoshi, you can also just jump off Yoshi in mid-air, which will take you high enough to touch the blocks. The bonus area exits to the silver pipe near the end of the level.
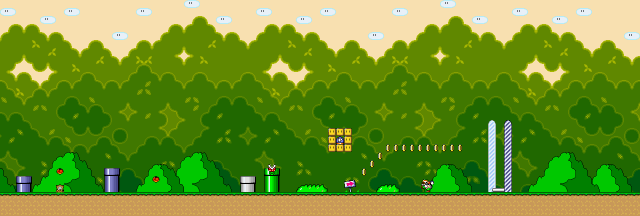
At the end, a P-Switch is enclosed in turn blocks. Jump at them from below to cause the P-Switch to fall down, then step on it. This will cause the coins in front of you to turn into blocks, allowing you to bypass the Chargin' Chuck and touch the goal tape at the very top.
Dragon Coin locations
The five Dragon Coins in this level are located as follows:
After the first message block, hovering above a red shell. It is accompanied by a few coins.
Just a bit behind the first Dragon Coin, above a green shell.
Behind the first Chargin' Chuck. Jump from the high ledge to reach it.
On top of a cloud platform. To reach it, go to where the first Monty Moles are and look up to see two turn blocks. Hit the right one from below to reveal a vine, climb it up to get to the cloud platform where the Dragon Coin is.
Just before the single pit. Fall down from the cloud platform the fourth Dragon Coin was on to land right at its place.