Walkthrough[edit]
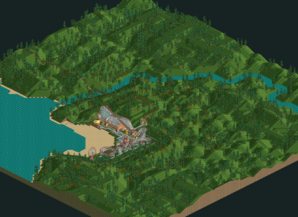
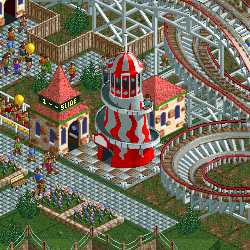
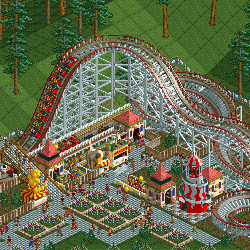
Haunted Harbor (Haunted Harbour in the EU version) may appear like a standard park scenario with an elaborate Ghost Train ride and a stellar Wooden Roller Coaster. However, both these rides are several years old, forcing their admission prices to be dirt cheap and breaking down often. Sadly, in order to buy the surrounding land, a deal was made to sell it at a low price in exchange for keeping these two old rides up. Thankfully, the other rides and shops are fair game to move around, there's a lot of room for expansion, and 1,200 guests in 3 years isn't too difficult to reach.
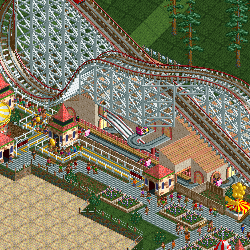
The most important thing to do with your two oldest rides is to have a mechanic check on them frequently to ensure they don't break down as often. Hire a few more mechanics as well as handymen and make sure those mechanics patrol those two rides closely. In addition, saving often is recommended since these rides cannot be demolished or reconstructed. That means that if one of these rides has a crash, you're expected to take the hit and leave the ride intact. Guests will forget the tragedy over time, but until they do, they will avoid going on that ride for fear of losing their lives. Thankfully, you can modify how many trains the Woodpecker has to prevent one train from colliding with another, but it's still recommended to save often for this scenario.
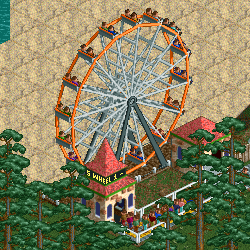
For the other rides, you can keep or demolish them if you want, but if you decide to keep them, raise their prices as they're brand new and customers are willing to pay more for novelty. Make sure all rides have 10-minute inspections and the Ferris Wheel only has one rotation. Set funding to maximum and research roller coasters to get the Wooden Reverser Roller Coaster, which is similar to the Side-Friction Roller Coaster only it has the ability to turn the cars in reverse. Also, research thrill rides get a couple of swinging ship types.
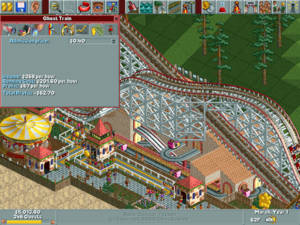
Although the park starts out small, there is an entire beachline to build on, so use the space for another coaster you can charge far more money on. If you want to keep things compact for now, you can use the Virginia Reel or the Wooden Crazy Rodent Roller Coaster, but space won't be an issue soon once you get enough cash to spend on land. Focus on making a path along the beach and going back up to the mainland to create a circular path. And speaking of paths, delete that dead end that's adjacent to the Spiral Slide as it won't be needed.
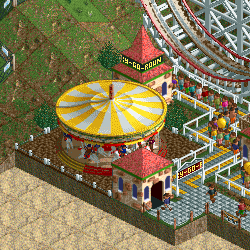
Once you have cash to burn, and at least 600 guests and 8 rides in your park, focus on buying new land. The new land is very hilly and full of trees, but buying land near the Merry-Go-Round can be easier to manage. Once again, only buy what land you need and never go overboard. You can also buy construction rights over the pathway that leads to the entrance if you need to connect pathways or finish track-based rides. You should be able to buy land around the beginning of Year 2, but there's no pressure if it happens later than that. Once a decent amount of rides are made on the new land and the path on the new land circles back to the main land, reaching the goal will be easy.
Starting Rides[edit]
| Ferris Wheel 1 |
| Excitement: 1.29 · Intensity: 0.75 · Nausea: 0.80 |
| Max Speed: n/a · Average Speed: n/a |
| Ride Time · n/a · Ride Length: n/a |
| Positive Vert Gs: n/a · Negative Vert Gs: n/a · Lateral Gs: n/a |
| Air Time: n/a · Drops: n/a |
| Highest Drops: n/a · Inversions: n/a |
| Ghost Train |
| Excitement: 4.19 · Intensity: 0.45 · Nausea: 0.32 |
| Max Speed: 18 mph/28 kmh · Average Speed: 5 mph/8 kmh |
| Ride Time · 1m 7s · Ride Length: 728 ft/222 m |
| Positive Vert Gs: 1.77g · Negative Vert Gs: 0.29g · Lateral Gs: 1.31g |
| Air Time: n/a · Drops: 4 |
| Highest Drops: 6 ft/2 m · Inversions: n/a |
| Merry-Go-Round 1 |
| Excitement: 1.10 · Intensity: 0.60 · Nausea: 0.75 |
| Max Speed: n/a · Average Speed: n/a |
| Ride Time · n/a · Ride Length: n/a |
| Positive Vert Gs: n/a · Negative Vert Gs: n/a · Lateral Gs: n/a |
| Air Time: n/a · Drops: n/a |
| Highest Drops: n/a · Inversions: n/a |
| Slide 1 |
| Excitement: 1.82 · Intensity: 1.40 · Nausea: 0.90 |
| Max Speed: n/a · Average Speed: n/a |
| Ride Time · n/a · Ride Length: n/a |
| Positive Vert Gs: n/a · Negative Vert Gs: n/a · Lateral Gs: n/a |
| Air Time: n/a · Drops: n/a |
| Highest Drops: n/a · Inversions: n/a |
| Woodpecker |
| Excitement: 7.12 · Intensity: 7.69 · Nausea: 4.37 |
| Max Speed: 45 mph/72 khm · Average Speed: 18 mph/28 kmh |
| Ride Time · 57s · Ride Length: 2,021 ft/616 m |
| Positive Vert Gs: 3.18g · Negative Vert Gs: -1.26g · Lateral Gs: 1.82g |
| Air Time: n/a · Drops: 5 |
| Highest Drops: 55 ft/17 m · Inversions: n/a |
Shops[edit]
- Balloon: $0.90
- Toilet: Free
- Drink: $1.20
- Fries: $1.50
- Ice Cream: $0.90
