Walkthrough[edit]
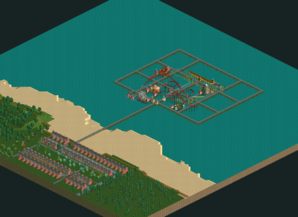
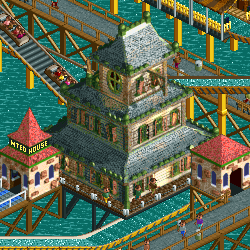
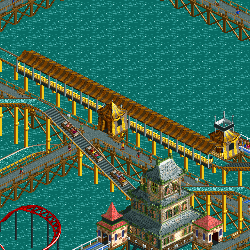
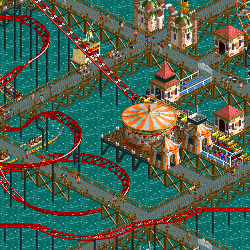
Welcome to the awaited sequel to Big Pier. Although it's definitely not the park you built, the structure is still the same: a park set on the ocean shore with construction rights insted of owned land. Due to its success, it has expanded outward with more path waiting to have rides built nearby and around 460 guests already enjoying the attractions that are here. With a good head start, reaching 1,200 guests in two years will be easy.
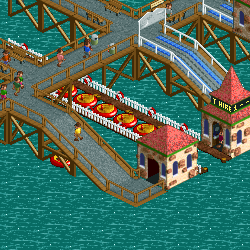
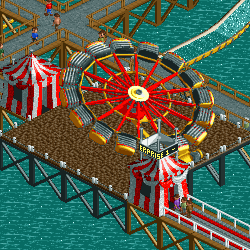
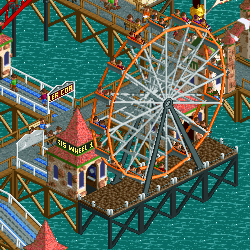
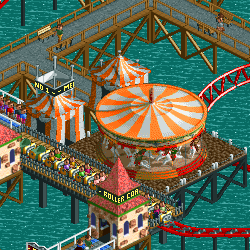
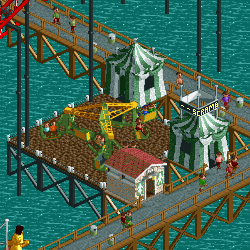
Before building new rides, it's necessary to adjust the stuff that's already here. First, close the Boat Hire as it's another open track and with such a big body of water, the guests will get lost. Either delete it or add a closed track. Next, adjust the log flume's minimum waiting time to 20 seconds. This will make sure guests don't spend forever waiting in line by steadily letting them in. Close the Scrambled Eggs and place the entrance somewhere else so you can build a queue line. After that, have the Ferris Wheel only do one rotation as two rotations causes guests to complain that they're on the ride too long. Set all rides to have a inspection time of 10 minutes and hire 2 or 3 more mechanics to maintain them. Hire more handymen as well since there's a lot more space to cover than the first Big Pier. Add a drink stall near the fries stall to handle thirst and an Information Kiosk if you want. Finally, set research to maximum and focus on Roller Coasters since you only have three and one is already built.
Once all the rides are tweaked, you can focus on building new rides at the edges. You can use the Steel Roller Coaster to build a quick launch coaster to keep guests busy while you construct the Wooden Wild Mouse for a third coaster. Placing prebuilt rides is tricky since they end up directly on top of the water instead of 2 units high; it's better to build your own coaster. Make sure they weave over and under the path as well as itself to gain excitement bonuses. Eventually, you should switch to Thrill Rides for research to get the Roto-Drop and Shops & Stalls for a second food stall. Keep building coasters as more are unlocked to keep guests coming. Never research Scenery & Theming as other than Jumping Fountains and fountains placed on water, there's no place where you can build scenery.
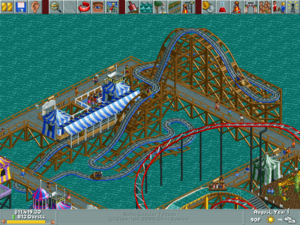
If you do things right, you should reach over 800 guests near the end of the first year. Be sure to have a good number of handymen and mechanics to maintain your park as the path will eventually get messy with all the coasters lying around. The second year should be breezy from that point, but advertising is always there to bail you out if there's any snags.
Starting Rides[edit]
| Boat Hire 1 |
| Excitement: 2.47 · Intensity: 0.40 · Nausea: 1.10 |
| Max Speed: n/a · Average Speed: n/a |
| Ride Time · n/a · Ride Length: n/a |
| Positive Vert Gs: n/a · Negative Vert Gs: n/a · Lateral Gs: n/a |
| Air Time: n/a · Drops: n/a |
| Highest Drops: n/a · Inversions: n/a |
| Enterprise 1 |
| Excitement: 3.72 · Intensity: 6.47 · Nausea: 7.64 |
| Max Speed: n/a · Average Speed: n/a |
| Ride Time · n/a · Ride Length: n/a |
| Positive Vert Gs: n/a · Negative Vert Gs: n/a · Lateral Gs: n/a |
| Air Time: n/a · Drops: n/a |
| Highest Drops: n/a · Inversions: n/a |
| Ferris Wheel 1 |
| Excitement: 1.10 · Intensity: 0.75 · Nausea: 0.80 |
| Max Speed: n/a · Average Speed: n/a |
| Ride Time · n/a · Ride Length: n/a |
| Positive Vert Gs: n/a · Negative Vert Gs: n/a · Lateral Gs: n/a |
| Air Time: n/a · Drops: n/a |
| Highest Drops: n/a · Inversions: n/a |
| Haunted House 1 |
| Excitement: 2.45 · Intensity: 0.93 · Nausea: 0.10 |
| Max Speed: n/a · Average Speed: n/a |
| Ride Time · n/a · Ride Length: n/a |
| Positive Vert Gs: n/a · Negative Vert Gs: n/a · Lateral Gs: n/a |
| Air Time: n/a · Drops: n/a |
| Highest Drops: n/a · Inversions: n/a |
| Log Flume 1 |
| Excitement: 5.01 · Intensity: 2.35 · Nausea: 1.13 |
| Max Speed: 29 mph/46 kmh · Average Speed: 2 mph/3 kmh |
| Ride Time · 4m 24s · Ride Length: 1,476 ft/450 m |
| Positive Vert Gs: n/a · Negative Vert Gs: n/a · Lateral Gs: n/a |
| Air Time: n/a · Drops: 3 |
| Highest Drops: 26 ft/8 m · Inversions: n/a |
| Merry-Go-Round 1 |
| Excitement: 1.05 · Intensity: 0.60 · Nausea: 0.75 |
| Max Speed: n/a · Average Speed: n/a |
| Ride Time · n/a · Ride Length: n/a |
| Positive Vert Gs: n/a · Negative Vert Gs: n/a · Lateral Gs: n/a |
| Air Time: n/a · Drops: n/a |
| Highest Drops: n/a · Inversions: n/a |
| Roller Coaster 1 |
| Excitement: 5.21 · Intensity: 6.71 · Nausea: 4.09 |
| Max Speed: 44 mph/70 kmh · Average Speed: 19 mph/30 kmh |
| Ride Time · 51s · Ride Length: 1,958 ft/597 m |
| Positive Vert Gs: 3.14g · Negative Vert Gs: -1.37g · Lateral Gs: 1.80g |
| Air Time: n/a · Drops: 7 |
| Highest Drops: 52 ft/16 m · Inversions: n/a |
| Scrambled Eggs 1 |
| Excitement: 1.53 · Intensity: 1.27 · Nausea: 2.50 |
| Max Speed: n/a · Average Speed: n/a |
| Ride Time · n/a · Ride Length: n/a |
| Positive Vert Gs: n/a · Negative Vert Gs: n/a · Lateral Gs: n/a |
| Air Time: n/a · Drops: n/a |
| Highest Drops: n/a · Inversions: n/a |
Shops[edit]
- Toilet: $0.10
- Fries: $1.30
Available Items[edit]
Researchable Items[edit]
- Wooden Crazy Rodent Roller Coaster
- Virginia Reel
- Steel Corkscrew Roller Coaster
- Suspended Looping Coaster
- Inverted Wild Mouse Coaster
- Bobsled Roller Coaster
- Suspended Single-Rail Roller Coaster
- Wooden Reverser Roller Coaster
- Inverted Roller Coaster
- Flying Roller Coaster
- Stand-Up Steel Roller Coaster
- Suspended Roller Coaster
- Mine Train Roller Coaster
- Heartline Twister Roller Coaster
- Single-Rail Roller Coaster
- Wooden Twister Roller Coaster
- Wooden Roller Coaster
- Steel Wild Mouse Roller Coaster
- Steel Twister Roller Coaster
- Egyptian Theming Objects
- Jumping Fountains
- Jurassic Theming Objects
- Jungle Theming Objects
- Medieval Theming Objects
- Creepy Theming Objects
- Urban Theming Objects
- Pagoda Theming Objects
- Mine Theming Objects
- Wonderland Theming Objects
- Garden Clock
- Abstract Theming Objects
- Spooky Theming Objects
- Classical/Roman Theming Objects
- None
