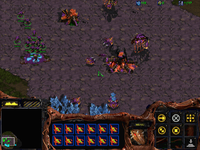
Template:StarCraft level This one is really straight-forward because it's more of a Zerg tutorial than an actual mission. Daggoth will tell you step by step how to build a Zerg base, but here are some key things to remember:

- Drones become the structure that they build, so you must never use your last Drone to build something.
- Overlords are equivalent to Supply Depots.
- All Zerg units (except for one) are morphed at the Hatchery.
- The Hatchery is a resource depot.
- Each Hatchery holds up to a maximum of 3 Larvae. This means you can create many units at the same time, but you need other Hatcheries (additional ones even inside your base) to speed your overall production.
- Zerg structures (except the Hatchery and Extractor) must always be placed on Creep, which originally begin from the Hatchery but can be extended with a Creep Colony.
- A thing the game doesn't tell you right off the bat: you can use an enemy Zerg's Creep to build your own structures.

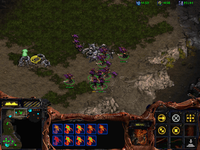
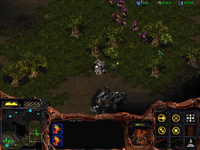
After you've established yourself, Zasz will order you to destroy the Terran presence here. To start with, build 24 Zerglings (you start with 12) and 12 Hydralisks. This won't be enough, so be ready to build backup units; also, mutate your lone Creep Colony into a Sunken Colony so it can defend the Chrysalis in case of surprise attacks. Send your force up north and up the ramp at the northwestern corner of the map, and have them go east from here. You'll run into some defending units and a Starport, which your Zerglings shall destroy. Meanwhile, have the Hydralisks move to the ramp going down and physically block it so no Terran units can pass. Now, wait until you have a replenished force of 12 Hydralisks and 12 Zerglings, then move down the ramp and assault the main base (from this point on continuously build Hydralisks even if you don't think you need any more). Then, go south and destroy the Barracks, Turret, and any units that might be there to complete the mission.
Alternate Strategy
As soon as you complete the beginning tutorial, make a second Hatchery right between the Mineral Fields and the Gas Geyser. Now, let it grow, and while it is, make an Evolution Chamber and the Hydralisk Den. After the hatchery is done, make the Zerg Vespian Extractor. Now, create 3 more drones, and send them all to the extractor. Now, with all your time to wait for the gas to grow, make between 6-12 more Drones, with Overlords to boot. Now, as soon as you have enough Gas, within about 3 to 4 minutes, start up Zergling Speed, and Hydralisk Attack Range. Select all six larvae and make several zerglings. Make sure to have about a group of about 36. Then, make 6-12 Hydralisks to take out the Wraiths. As soon as you get them, send the lings and hydras straight to their base. These will overpower them. Make more zerglings or hydras, depending on what you start losing, should the Hydras get killed. Once the base is destroyed, destroy the barracks, 2 Missile Turrets, and the Starport, to claim victory.
