Jump to navigation
Jump to search
The Swamp
(Adding images of specific guides, used characters and bosses) |
Notmyhandle (talk | contribs) (Image->File) |
||
| Line 14: | Line 14: | ||
=== Characters === | === Characters === | ||
<gallery> | <gallery> | ||
File:SSBB_Diddy_Kong.jpg|Diddy Kong | |||
File:SSBB_Fox.jpg|Fox McCloud | |||
File:SSBB_Falco.jpg|Falco Lombardi | |||
</gallery> | </gallery> | ||
=== Bosses === | === Bosses === | ||
<gallery> | <gallery> | ||
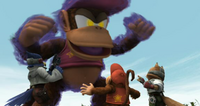
File:FakeDiddy.jpg|False Diddy Kong (Giant) | |||
</gallery> | </gallery> | ||
{{Footer Nav|game=Super Smash Bros. Brawl|prevpage=The Wilds (2)|nextpage=The Research Facility (2)}} | {{Footer Nav|game=Super Smash Bros. Brawl|prevpage=The Wilds (2)|nextpage=The Research Facility (2)}} | ||
Revision as of 20:07, 16 June 2012

Starts with Fox and Diddy Kong. Bowser finds them but retreats when Falco makes his first appearance.
Boss: Giant False Diddy Kong.
Ends: Fox, Falco, and Diddy Kong find the platform holding Donkey Kong.
Gallery
Characters
-
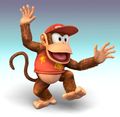
Diddy Kong
-
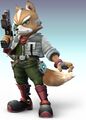
Fox McCloud
-
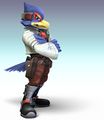
Falco Lombardi


Bosses
-
False Diddy Kong (Giant)