Keys to Success:[edit]
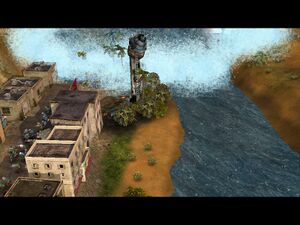
- Do not destroy the last GLA structure on the east side of the river until a strong fighting force is built for the second half of this mission. Destroying the last structure activates the trigger that opens up the northern part of the map with a massive GLA base. Things can get very ugly if the counterattack catches you unprepared.
- Pathfinders are vital for handling Angry Mobs. They can also detect hidden demo traps that you will encounter in the second part of this mission and the GLA base has heavy anti-air defenses, decreasing the usefulness of Scout Drones.
- Take out the Scud Storm as soon as you can, preferably before it can launch. The AI tends to target the largest group of your units standing near a structure, which most of the time means either your secondary base or the Raptors parked at your Airfield.
Part 1[edit]
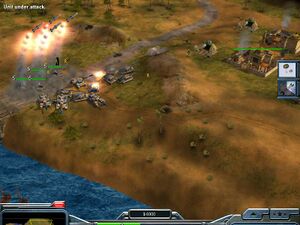
The first half of this mission consists of building up your army, crossing the bridge and destroying the GLA base. There are no time constraints involved but the base builds itself up as time goes on; the longer you wait to attack, the harder resistance will be.
- The other side of the bridge is defended by a pair of Tunnel Networks, some RPG troopers at the front and Rocker Buggies on the pair of hills behind the TNs. Later, these will be supplemented with Stinger Sites as well. Destroying the Rocket Buggies with Comanches approaching from the west to evade the RPG troopers will save you a lot of trouble once your tanks start crossing the bridge.
- Select your Generals powers. Pathfinders and A-10 strikes are recommended. Stealth Fighters are optional as you now have access to Raptors.
- You are given six Crusaders and quite a few Rangers at the start. When crossing the bridge, consider leading the way with Paladins to soak up RPG fire; if you wait too long and the GLA positions Stinger Sites near the bridge, bring Pathfinders and/or Tomahawks.
- Upgrade some or all of your tanks with battle drones and move them near the bridge.
- Don't neglect building a Strategy Center. Aside from its upgrades (extra armor for Crusaders and Paladins, double veterancy for every armed unit), its strategies can also give you an extra edge. Pathfinders, Tomahawks and Raptors (more range means firing and turning tail earlier, thus giving less time for enemy anti-air to shoot back) especially benefit from Search and Destroy.
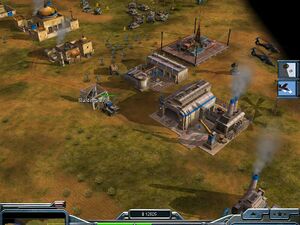
- Also don't forget an Airfield. You can now build Raptors which deal less damage to base defenses than Stealth Fighters but don't cost a promotion point to buy, freeing that point up for something else. Comanches can help greatly at the bridge but the GLA base starts with a Stinger Site behind the Command Center where it's protected from Raptors and A-10 strikes so if you decide to go with an aerial assault, take several Comanches and target the Stinger Site first.
- Slowly advance across the bridge, with the tanks in the lead. Keep your snipers and Tomahawks close behind. Use Tomahawks to destroy structures and GLA armor at a distance and the snipers will efficiently deal with GLA soldiers.
- Important: Do not destroy the last structure until you have a solid foothold at where the GLA base was. Base defenses don't count as structures for purposes of this map trigger.
- Optional: the GLA base can be captured if you wish, although it's not necessary. There's also a Tech Hospital in the southeastern corner of the map.
- Before destroying/capturing the last GLA structure, make sure that none of your units are in the lowlands near the bridge. Bring all troops to where the GLA base was, staying away from the river valley. There's a supply dock here which you can tap for money; aside from this and the meager supplies at your base, there are no unguarded sources of money on the map so claim this area. Build a few Patriot batteries above and left of the supply dock, as this is where the counterattack will be coming from.
Alternative: If you capture a GLA structure that can produce Workers, you can tech up all the way to being able to build a Scud Storm. This will greatly reduce the mission's difficulty, as a joint attack from the Scud Storm and an A-10 strike can instantly destroy the enemy Scud Storm. The GLA do not appear to rebuild any of their structures so a single Scud Storm can put their base permanently out of commission. As an alternative strategy, you may transport your workers to your side of the river and build up a GLA base on your side (at this point, you don't need to build up a base on the GLA side). Please note that using this strategy will mean that you will be hit by the scud storm at least once so remember to space out your buildings while building up your GLA base. Before the scud storm hits, you must construct at least one scud storm and two black markets in separate locations. After that, you should spam as many scud storms to clear up the enemy base and the accumulated enemy units and then send Comanches to mop up.
Part 2[edit]
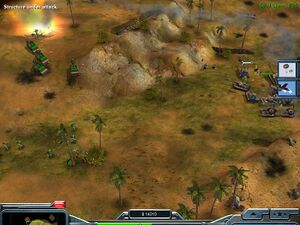
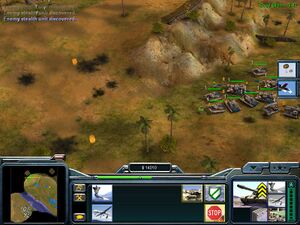
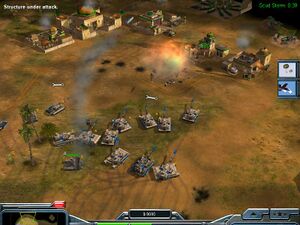
The dam is destroyed by the GLA and the north part of the map opens up. At this point, the GLA begin building a Scud Storm as well.
- Note that even on Brutal difficulty, the Scud Storm only starts building once the dam is destroyed which means if you can find it fast enough with the Command Center's satellite scan or with the Detention Camp's Intelligence, you can destroy the incomplete Scud Storm with an A-10 strike, significantly reducing the urgency of attacking the GLA.
- When the cutscene is over, you receive some tanks and a Dozer where the small GLA base you just destroyed was. If you haven't already, build up defenses ASAP because the GLA is coming and they're coming hard. Pathfinders are vital for controlling the Angry Mobs.
- There are a pair of oil derricks and an oil refinery to the north. Do not capture them until you are able to defend them, as the GLA's northern attack waves pass by them. Once your supply dock runs out, however, grab them as soon as you can because they are your only source of income.
- Keep a Pathfinder or two near the front of the attack column; there are quite a few demo traps in the way.
- Use Tomahawks to destroy Stinger Sites and GLA armor; unlike the other factions' artillery pieces, the Tomahawk tracks moving targets, making it effective at blunting armored counterattacks as well. Be very protective of your Tomahawks!
- Important: Keep an eye on enemy troops coming from behind you. This will happen more often if your southern base is destroyed. You may lose more troops from assaults behind your column than in front of it. Use your Tomahawks to destroy GLA at your rear if your other units are not set up to defend itself from attack.
- There are a LOT of Stinger Sites defending the southwestern side of the GLA base. Be careful when selecting targets for your Raptors; if they fly in from the other side of the river, they go over the dam which means if a veteran Raptor is shot down, the pilot parachutes into the water and dies instantly, making you unable to recover the experience. RPG Troopers that aggro onto the Raptors also gather at the riverside and take potshots, increasing the risk of losing a plane. With that said, don't underestimate the sheer havoc your Raptors can wreak on this mission either; four Raptors at maximum veterancy are extremely devastating, even without switching to Bombardment at the Strategy Center.
- The mission can be won without protecting your base. It will take extra effort to defend it from GLA troops that sneak by your advancing troops. In fact, you don't need to keep any forces on that side of the river at all; once the Scud Storm is down, the GLA cannot attack your original base in any way and can be pummeled into the ground with relentless airstrikes.
- Once your supply dock runs out, funds become limited. Consider switching the Strategy Center to Hold the Line to increase your units' endurance.
- The base is spread out over a large area. Destroy all structures to win the mission.
Alternate strategy[edit]
This involves patience and some micro-management.
- Pathfinder on Humvee is optional for defense.
- Commanche helicopter is the key unit.
- The village that would be wiped out when the GLA destroy the dam has a UN crate.
First, defeat the first GLA attack with tanks and Commanche helicopter. Use the satellite ability of the Command Center to reveal the GLA base, if you are fast enough, the base will be defenseless as it is being built from the ground up. Kill the GLA ground units and worker with the Commanche. Do not destroy the GLA tunnel networks guarding the bridge. Transport some ranger with Chinook to capture the GLA base. Produce worker and develop GLA base to get the Black market. Build multiple Black market to get more fund.
Now build 1 airfield and get 2 or more Commanche. No need to build any aircraft nor research anything. Build detention center. And as soon as the fund is available, build as many Scud storm as you want, probably around 6 or 7 would be sufficient, at max 10. Assign a number to each Scud Storm. The goal is to bombard the GLA position and finish it off in one quick push with the Commanche. So as soon as all the Scud storms are ready, destroy the GLA tunnel networks with the Commanche to trigger the second phase.
Once the cinematic is over, use the detention center to get a nice view of the GLA base and bombard it with all your Scud Storm. Make sure the stinger sites are neutralized and send in the Commanche to mop up. Take quite a very long time but if everything is done right, the mission is finished with zero loss.