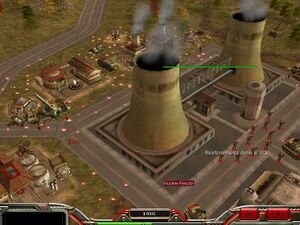
This mission begins with a cut scene showing the GLA attempting to overrun your base. The GLA is partially successful, but a few of your soldiers are able to defend the nuclear reactor and storage bunkers. They must survive further attacks until reinforcements arrive in ten minutes. Until then, only the Barracks can provide additional units.
The reinforcements will consist of a bulldozer, a few tanks and six Helices. This is when the action really begins.
The Helices will be put to work continuously blasting incoming GLA forces. This is what you will remember this mission by – the nonstop, arcade-style action of destroying hundreds of GLA units as they throw themselves at your base.
You must successfully defend the nuclear reactor and storage bunkers, then destroy all four of the surrounding GLA bases in order to win the mission. The base to the southwest of the base is partially exposed and should be targeted first.
Surviving the First Ten Minutes[edit]
Build additional Tank Hunters to join those already at the base until you can completely load the three Bunkers with them.
Build an extra Supply Truck to keep the credits rolling in.
The Gattling Cannon between the two Supply Docks and the Gattling Cannon to the northwest of the oil derrick are weak areas of defense. Send an additional five Tank Hunters to both of these areas. You will be glad you did.
Upgrade all of the structures with mines, then go around again upgrading them to Neutron Mines. Enemy vehicles will have their occupants irradiated and destroyed but leave the vehicles to be captured by your Red Guard or Tank Hunters.
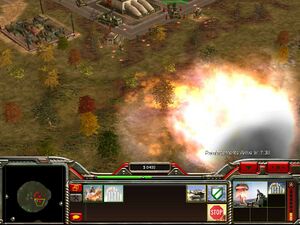
Four Nuke Cannons will be provided at the beginning of this mission. You will not be able to replace these later in the game, even after reinforcements arrive.
Nuke Cannons have a similar capability as the Neutron Mines. When Neutron Shells are chosen for the Nuke Cannons, this will give you a chance to destroy the vehicle’s driver, again, allowing your troops to capture the vehicles.
Place them at a safe distance within the base and have them force fire at high-traffic areas of incoming GLA forces. This can be accomplished by holding down the control key while left clicking on the map. Hopefully, some GLA units will be destroyed in this manner before reaching the base.
If you stay alert with your Dragon Tanks, Gattling Tanks and Red Guard, you can help protect your Bunkers against GLA infantry.
Reinforcements Arrive[edit]
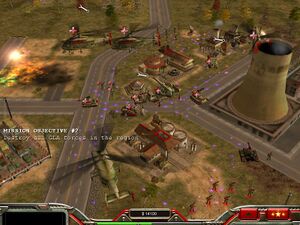
Six Helices arrive to aid in base defense. Two will have Propaganda Towers to heal surrounding units. Four will be already upgraded to Gattling Cannons. Create two separate groups of three Helices. Be sure each group has one of the Helices with the Propaganda Tower upgrade. Number them 1 and 2 to be able to quickly command them in combat.
Put group #2 on Guard mode near the northwest corner and group #1 in the southeast corner. You will have to stay alert moving your Helices around to cover the entire area of the base. Be alert to destroy Rocket Buggies as soon as possible.
A good rule of thumb for building up additional base defenses is to put a Gattling Cannon by Bunkers and Bunkers by Gattling Cannons.
It is a high priority to build a Command Center. If your bulldozer is lost before you do so, you won’t be able to replace it. Also, you will need the Command Center to utilize your General’s Power.
Choose the Cluster Mines, Artillery Barrage and Carpet Bombing upgrades. Place the Cluster Mines at key locations and start targeting the GLA base to the southwest with Artillery Barrage and Carpet Bombing.
Next, either build a Weapons Factory or Airfield. Beef up your defenses with either extra Helices or ground units. Use extreme care when building new structures, as they are vulnerable to attack. Eventually, build both of these structures.
If you decide to build extra Helices, create groups of three, each group containing two Helices with Gattling Cannons and one with a Propaganda Tower.
If you have the time and inclination, you can also use Helices upgraded with a Bunker. You can then load five Tank Hunters into each Helix with a Bunker. This takes a bit more time to maneuver with the loading process, but they do pack a punch.
Assign the groups numbers and station them on various sides of your base. Be sure they are set with the Guard command to make them more proactive in their combat duties.
The most dangerous units attacking your base will be Rocket Buggies attacking from a distance and Quad Cannons shooting down your Helices. Stay alert and keep losses to a minimum.
It's a very easy way to control GLA attacks. Go ahead with a helix with bunker. Put four tank hunters and a red guard. Buy capture command. Get another helix with a propaganda tower. Go to the southwest corner and destroy the quad cannon. Go to the southwest base near the war factory. Drop the red guard behind war factory and capture it. Create three quad cannons and destroy all defensive structures. At the palace by the general powers, capture every structure. Build a palace and eight black markets. While doing this, destroy the northwest arms dealer and barracks. Build eight scuds and create radar vans and radar upgrade from the black market. Find the places of the arms dealers and barracks. Each scud will destroy a structure or two. After some time there will be no attack. Build as many scuds and destroy the structures. The victory will be yours.
Offensive Operations[edit]
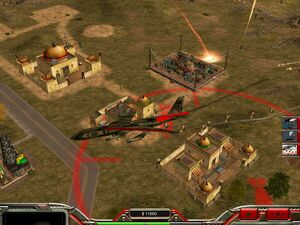
Once the defense of your base is stabilized you can focus on destroying the GLA base that is already partially exposed at the southwest corner of your map.
Have the Artillery Barrage and Carpet Bombs destroy the Stinger Sites. Create a group of at least three Helices, loading one of them with Red Guard soldiers. Destroy the majority of the base, but be sure avoid the Palace. The Palace is loaded with RPG soldiers and will chew up your choppers in a heartbeat.
Important: Do not destroy the Command Center or the oil derricks.
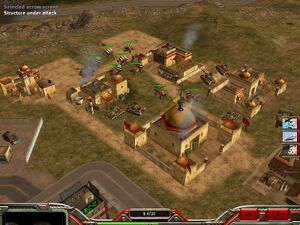
Bring in Battlemaster tanks to destroy any remaining Stinger Sites. Destroy the Palace with the Artillery Barrage and Carpet Bombs or ground units of your choice.
Capture the two oil derricks to assure adequate cash flow during the mission. The oil derricks probably won’t be attacked by the GLA, but place a few Battlemasters by them for security.
Capture the Command Center, then build a Supply Stash, Arms Dealer and Palace. (Alternatively, some of the buildings can be captured.) Start cranking out massive Rocket Buggies. They can travel much faster to the next base and destroy Stinger Sites and other Palaces at a safe distance.
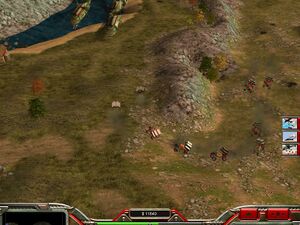
It is also beneficial to build a Black Market. Buggy Ammo, AP Rockets and Junk Repair are all excellent upgrades that will super-power your Rocket Buggies. Hint: You can build Scud Storms too.
There will be three more bases to destroy on the northwest, northeast and southeast corners of the map. It will be quick and efficient to team up your Helices and Rocket Buggies to destroy the rest of the bases.
Be sure to use the Guard command when controlling your Rocket Buggies. Otherwise, they can get "carried away," approaching within striking distance of the Stinger Sites.
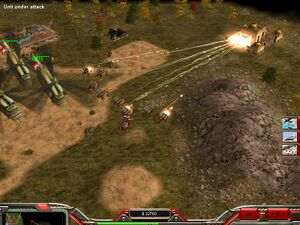
There are some Demo Traps along the way, which can be spotted and destroyed by Helices that are upgraded with a Gattling Cannon or Propaganda Tower.
Stinger Sites, Tunnel Networks and oil derricks do not need to be destroyed to finish the mission.
Victory is yours!!